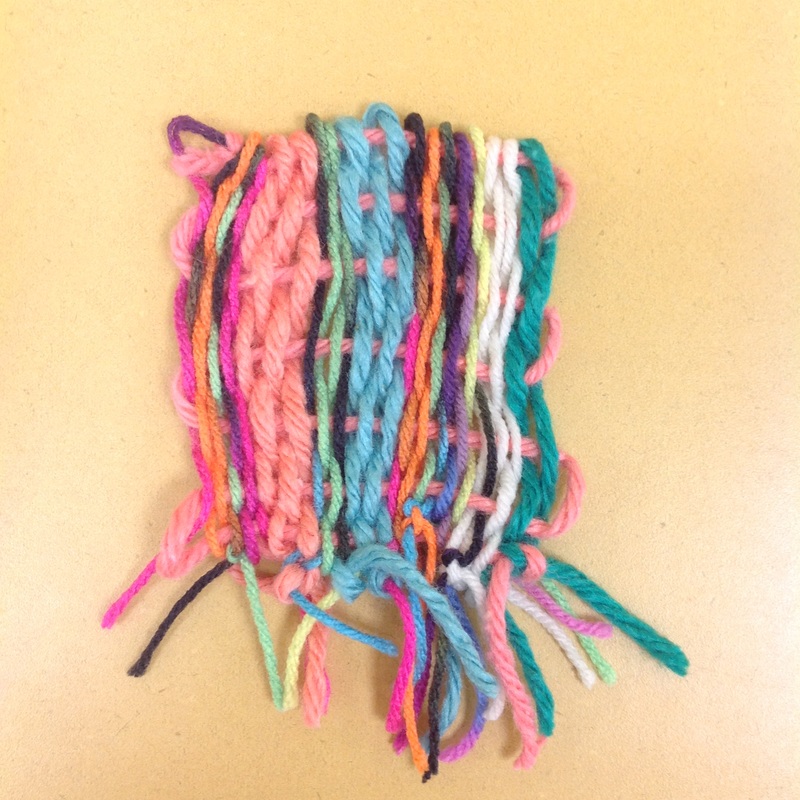
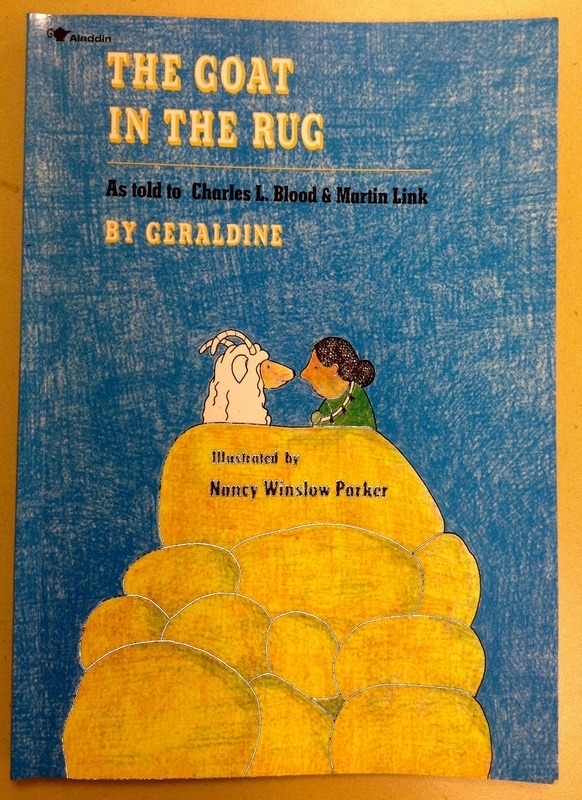
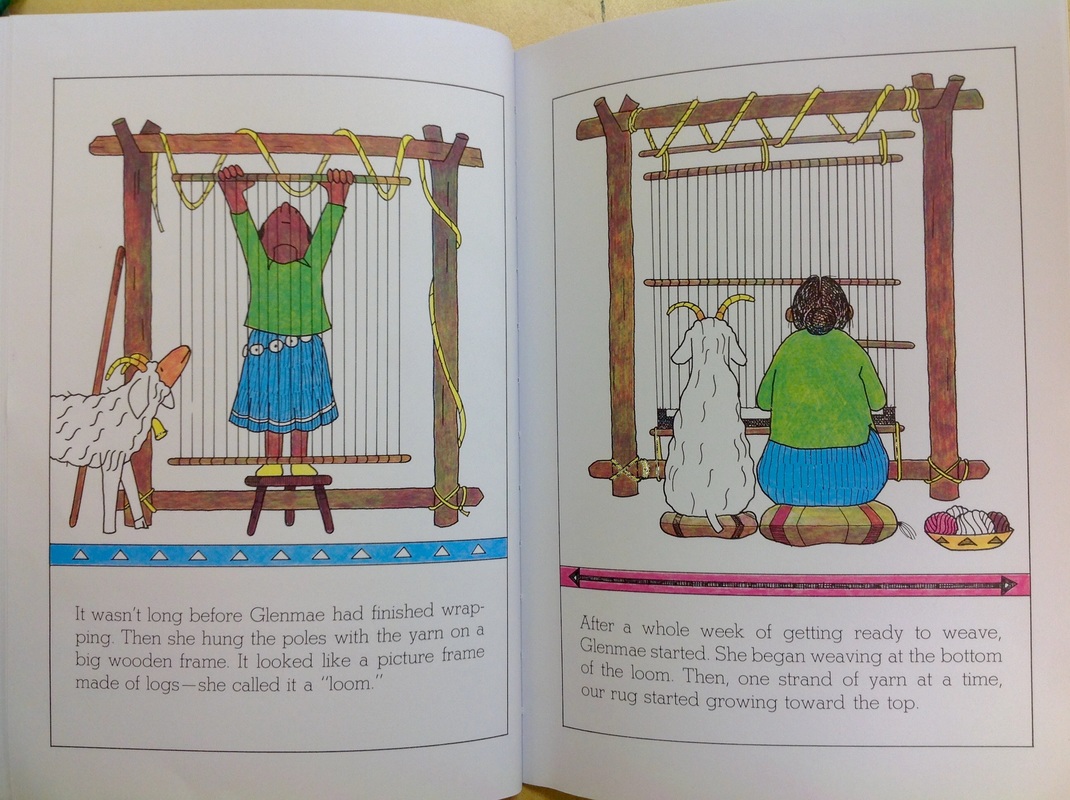
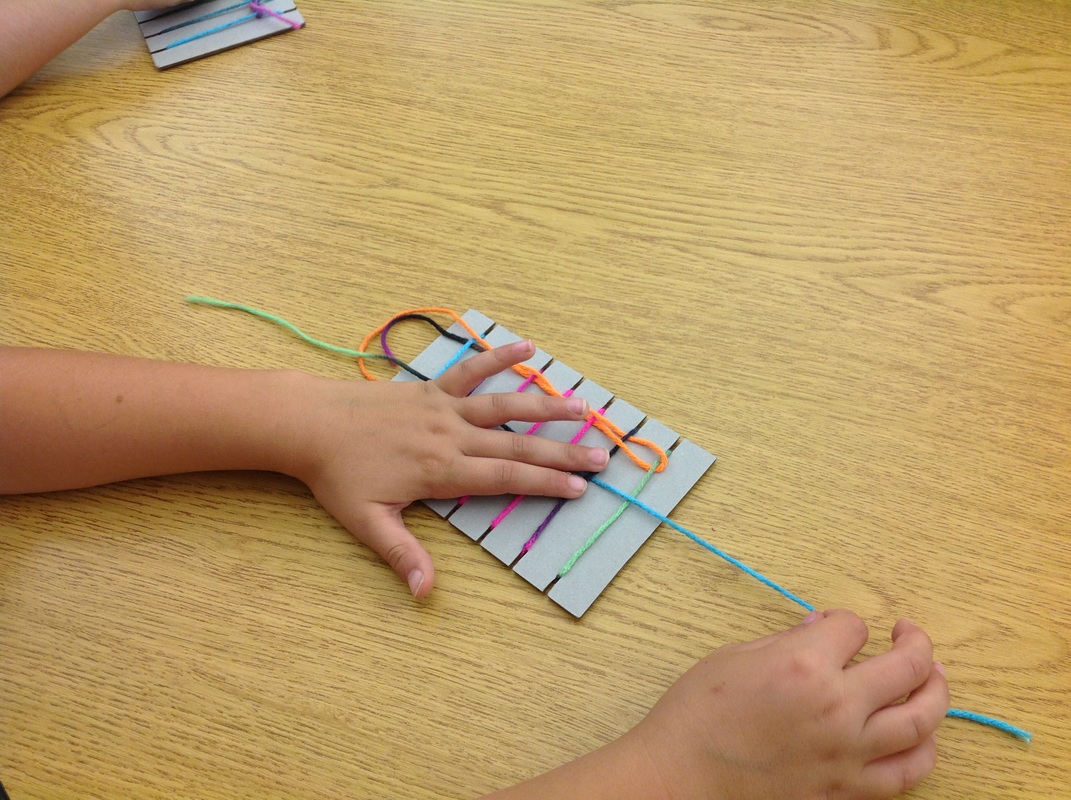
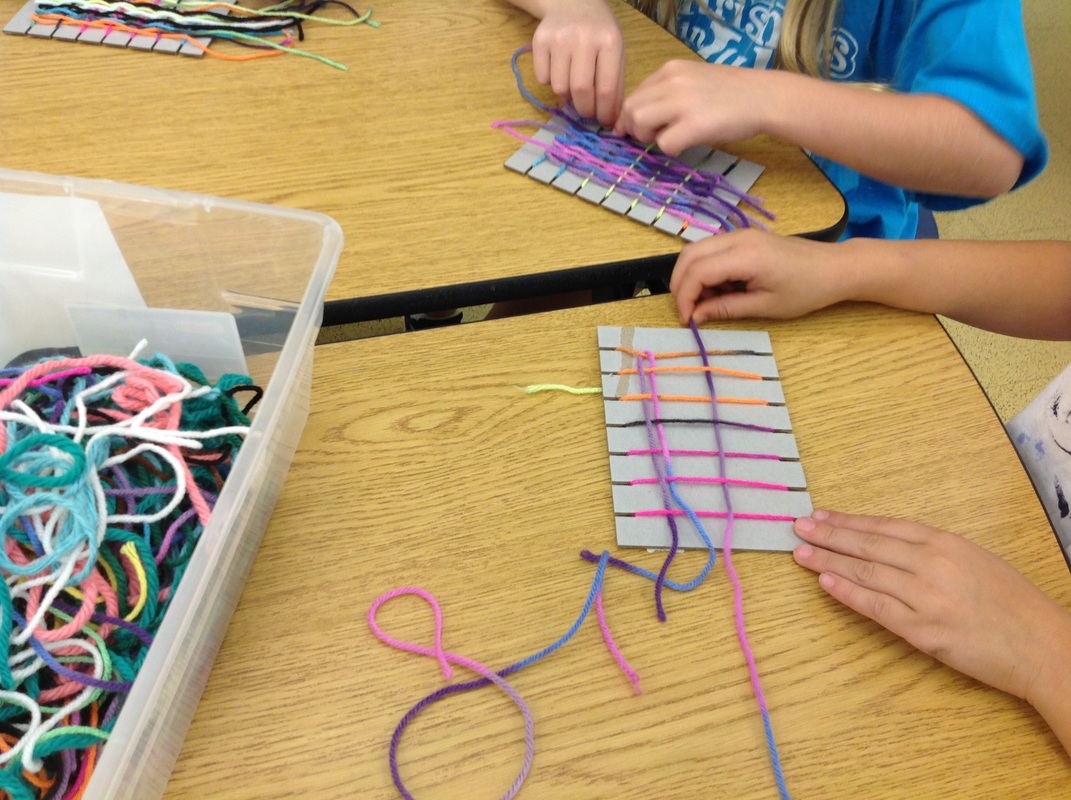
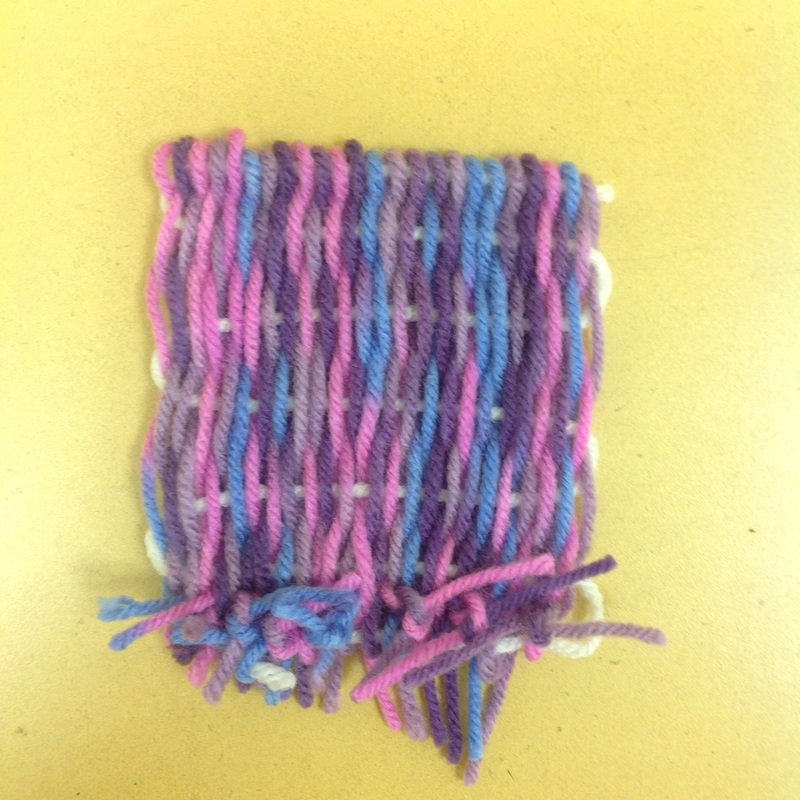
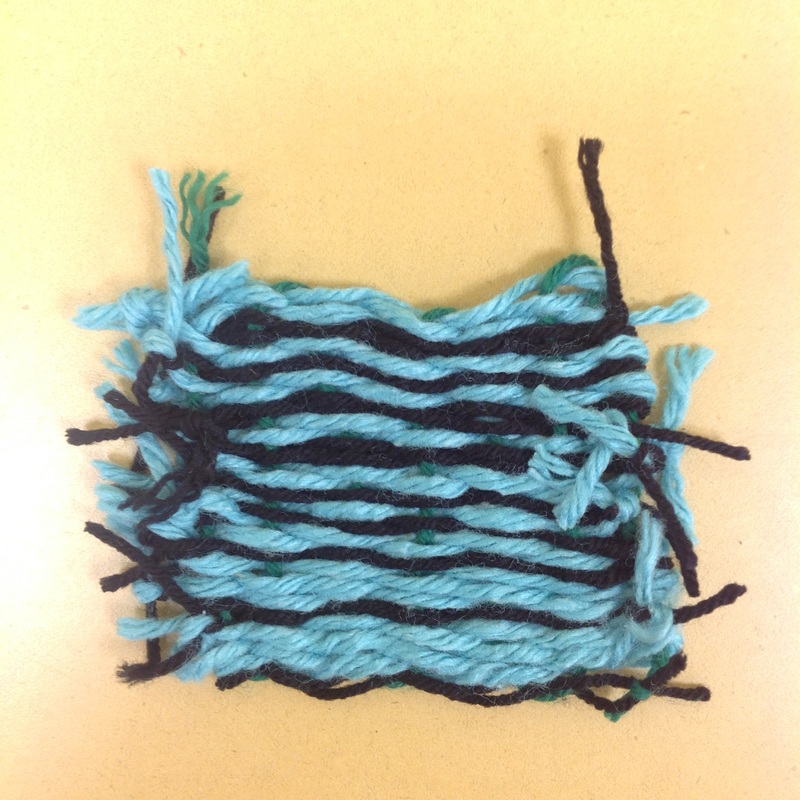
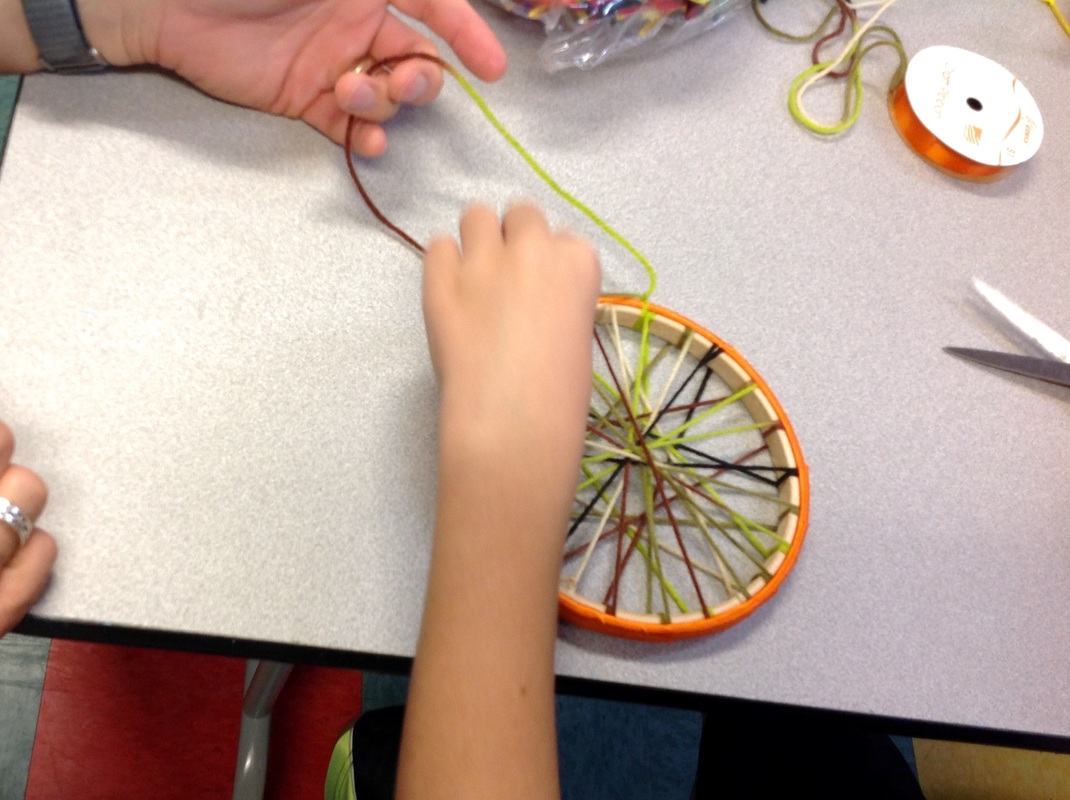
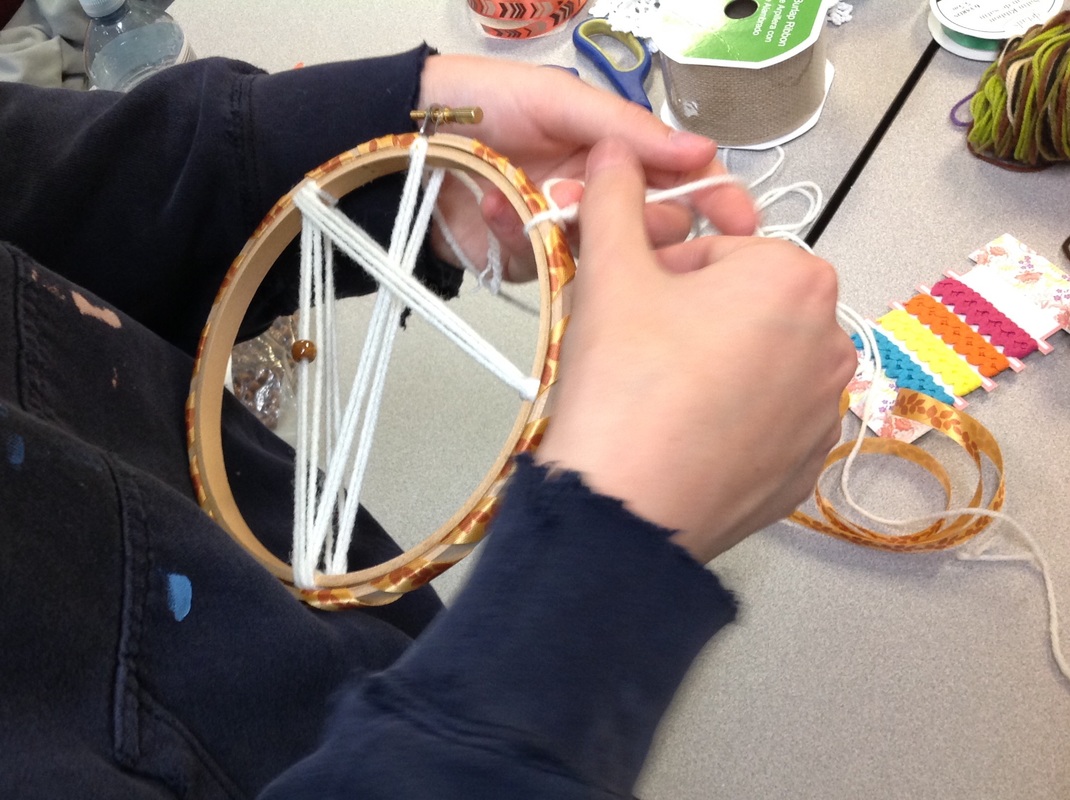
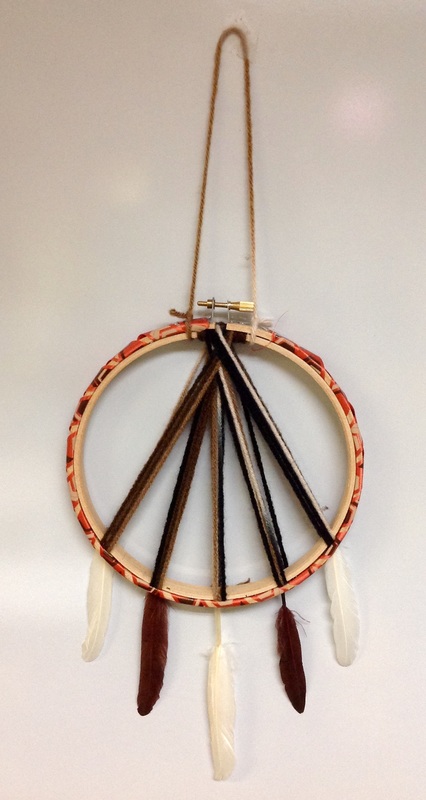
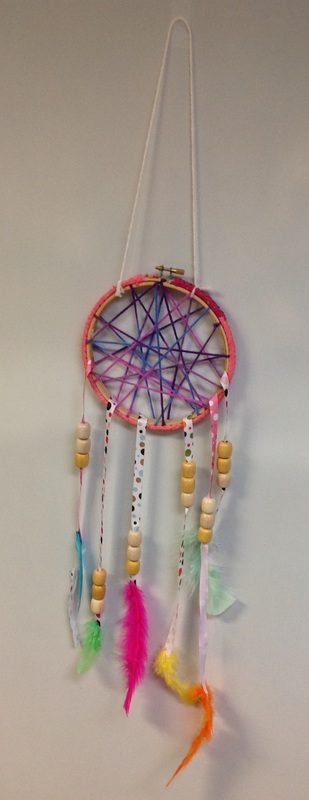
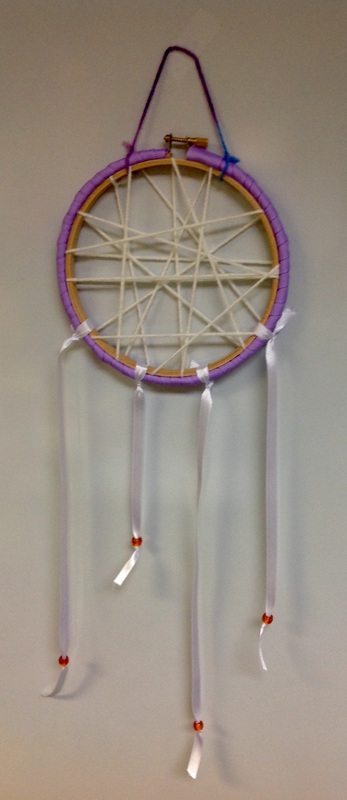
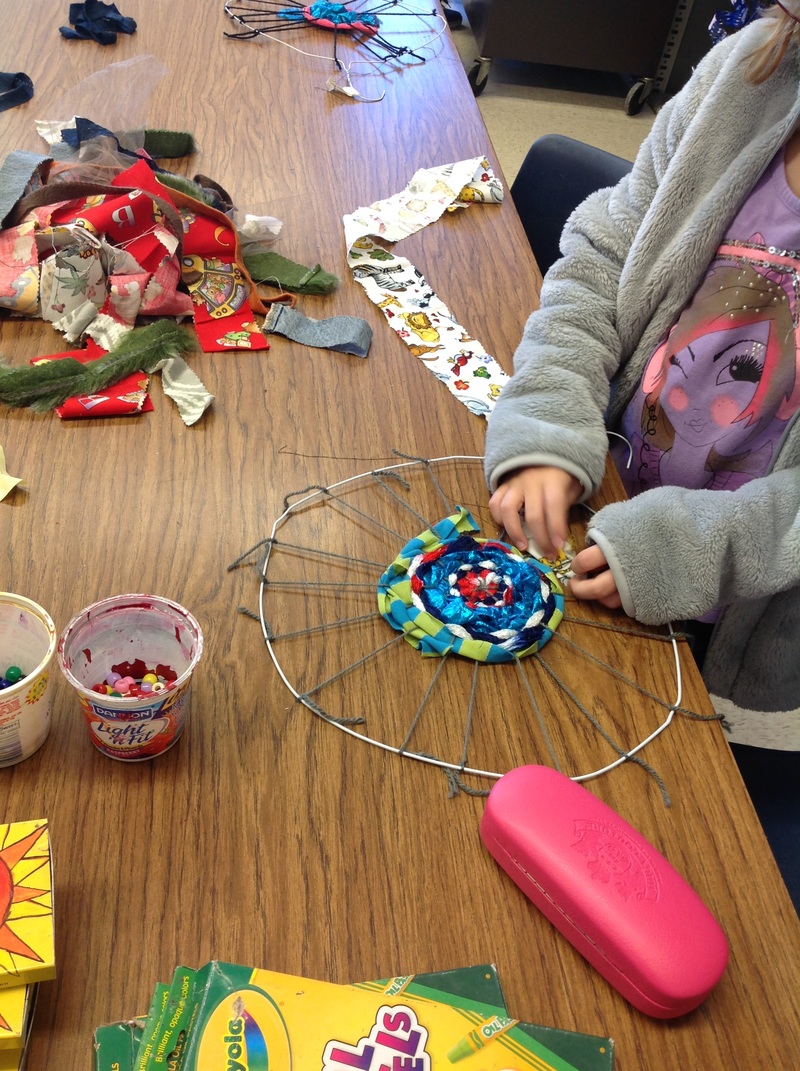
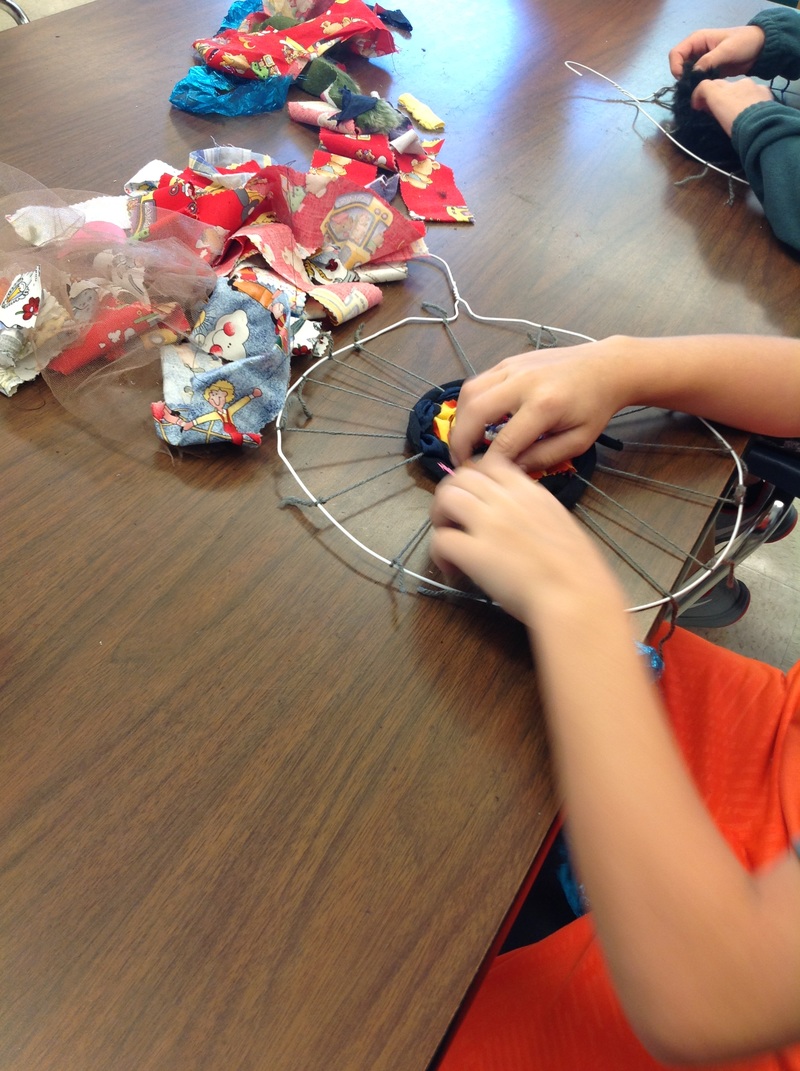
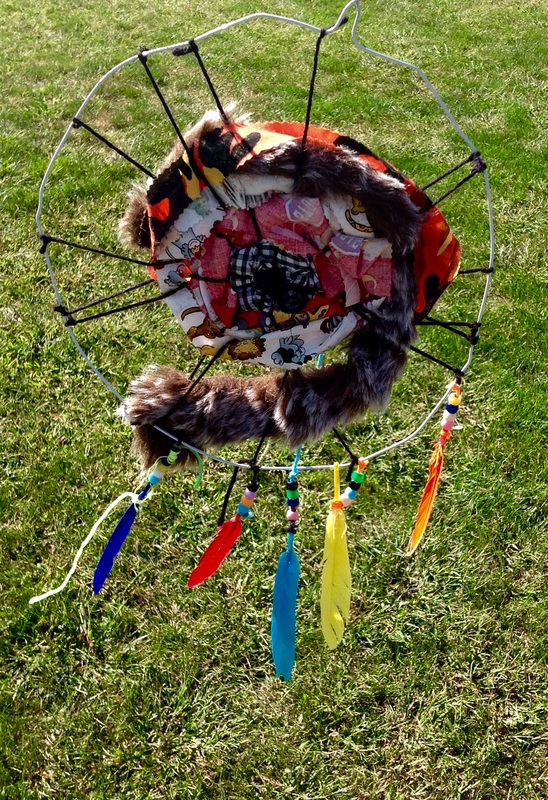
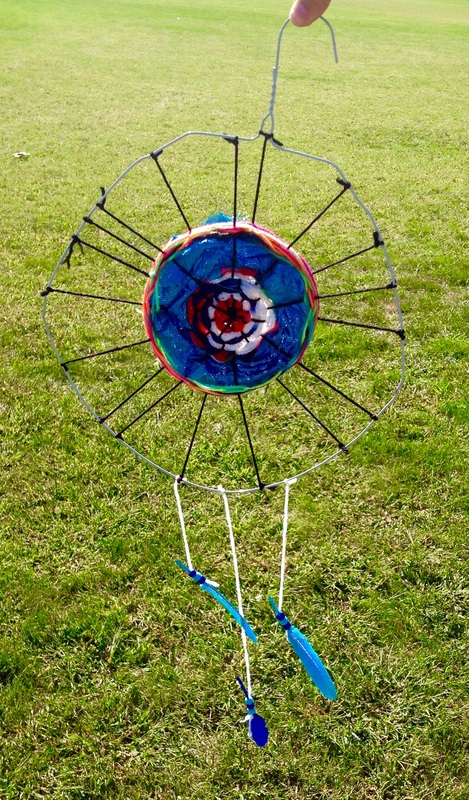
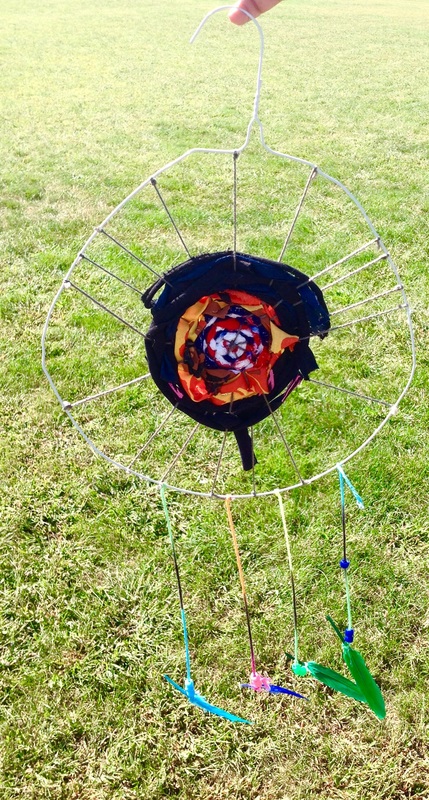
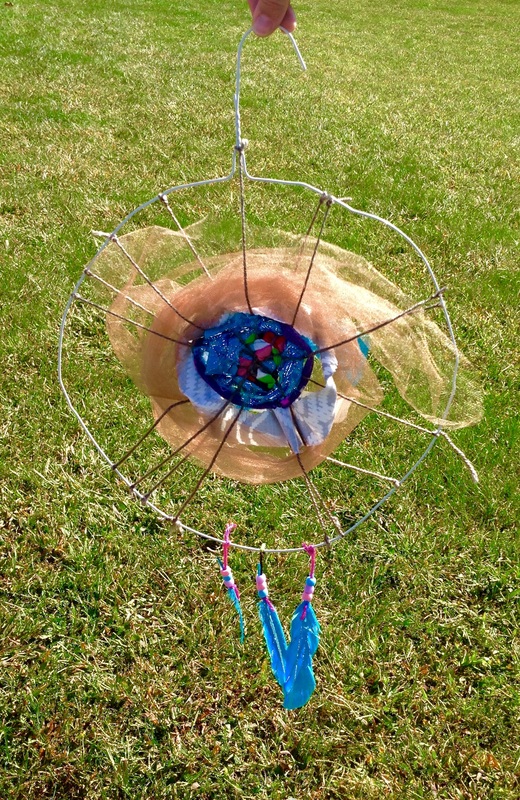
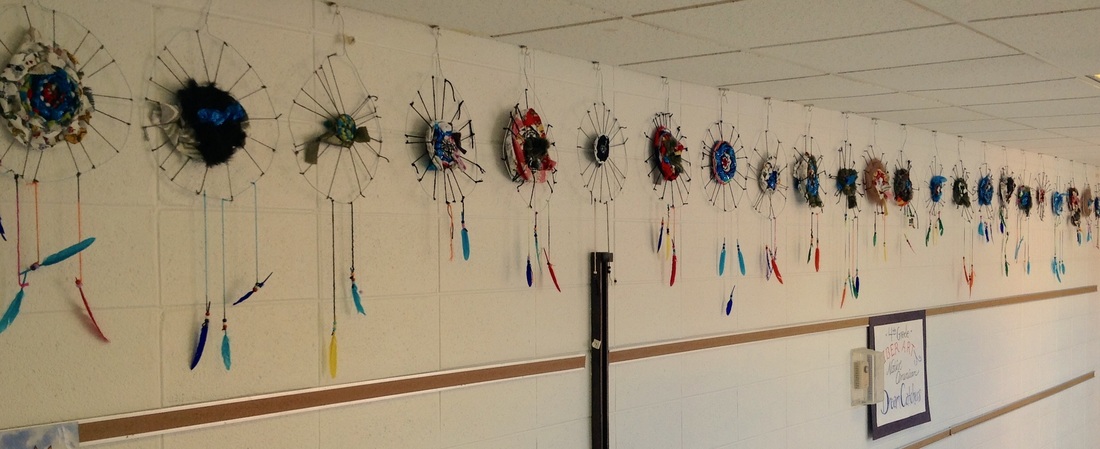
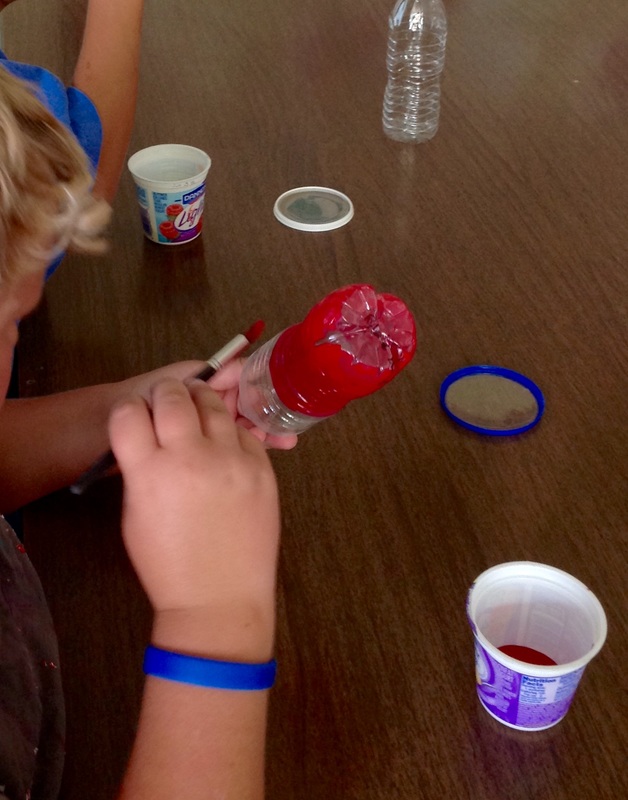
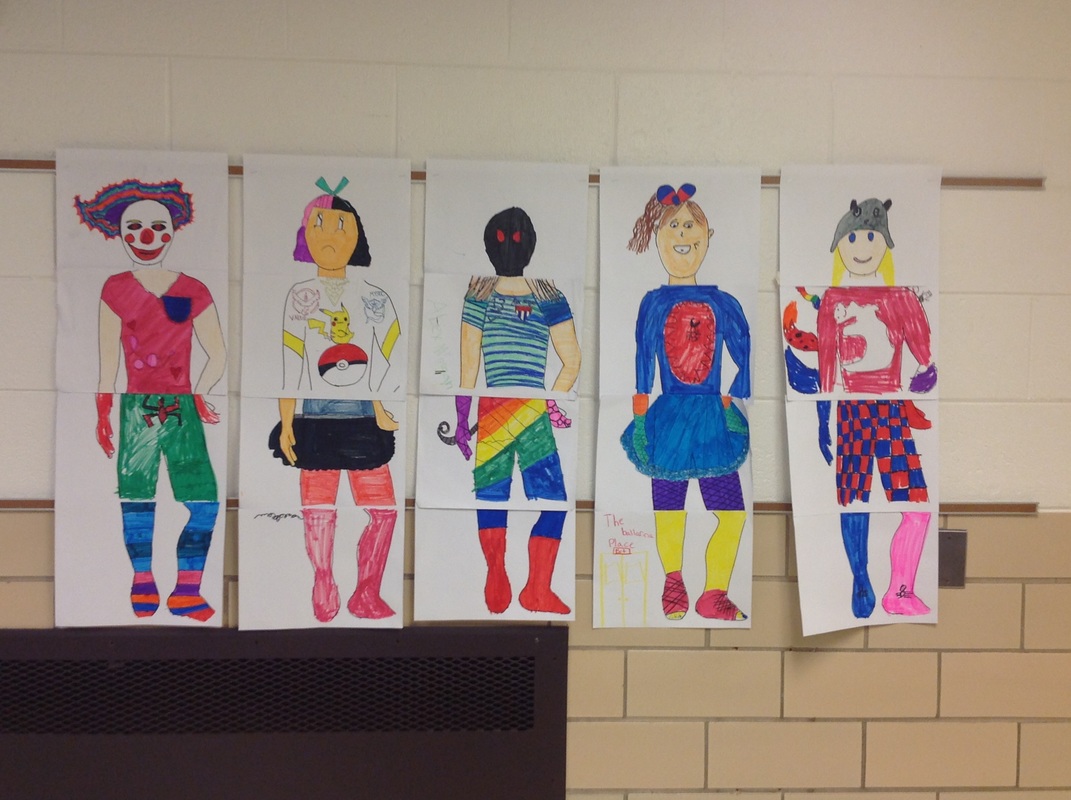
Mrs. Borchert, a strong advocate for the importance of fiber art, introduced second graders to Navajo weaving. Students learned how to make a loom, the difference between "warp" strings and "weft" strings, and how to complete a weaving (tying it and taking it off the loom). Science was incorporated in this lesson as Mrs. Borchert had students demonstrate how the Navajo people dyed their wool for weaving. She also brought in the adorable story "The Goat in the Rug". This was so much fun and the weavings look great!
0 Comments
Our awesome library put on a very successful summer reading program this year. One of the raffle prizes in this program was an art-themed basket. The child who won received some art supplies and a one-hour art lesson that I was honored to be a part of. She was kind enough to bring her family to participate as well! Having just worked on a dream catcher project with my fourth grade class, I was interested in trying out different techniques. And I have to tell you, each family member made something different! One of the children even commented that each dream catcher was a great representation of the family member who made it. I loved that!
Fiber art was introduced to Mrs. Schueler's fourth grade class. Students learned about the Native American legend of dream catchers. Then, they took wire hangers and formed them into circles. Using and a half pieces of yarn, they created a loom with 17 radii (it is important in this type of weaving to have an odd number of strings in the loom). They then wove pieces of fabric throughout it. To finish it, they created decorative fringe with beads and feathers.
Third grade was the first class that Mrs. Borchert took over during student teaching. With much enthusiasm, she presented the artwork of Dale Chihuly. This was a group effort where students became a team and focused on the end look of the installation, rather than on their individual pieces. Using over 150 used water bottles, this became a lesson on re-using and re-purposing materials. **BTW, did you know that you could wash water bottles on the top rack of a dishwasher? This simple tip saved us a lot of prep time!** Students first painted their base coat. To make prep easier, some classes chose from only warm color paints and the other classes were given cool colors only to choose from. On the following week, students were given a painted water bottle and told to add details with a contrasting color from the same cool or warm family. On the last day, students spiral-cut their bottles with scissors and attached them to a chain with zip-ties. All along, team work and collaboration was praised. The end results look awesome!
Mrs. Borchert and I had fun with this art experiment Friday afternoon. We had to figure out how thin to dilute the paint, how long to cut the yarn, how large to cut our paper, etc. Needless to say, we scrapped the results of our first couple tries. We are SO excited to present this lesson to our ACCESS classes this week. I will post pictures of their paintings later this week! Here is a link to watch our pendulum painting in action!
ACCESS students watched a short animated video of Piet Mondrian at work. Since music inspired much of his later work, music was important to this lesson! At Wilson Creek, we discussed favorite colors and then introduced primary colors. They used contact paper and pre-cut shapes to create their own Mondrian-inspired artwork. A second sheet of contact paper was used to seal up the work.
To increase the skill level for the Anna McDonald students, the concept of parallel lines was introduced. They were asked to first create a grid (using those parallel lines) with their thin black strips and then fill spaces in between the lines with the colored shapes. These would all look awesome hanging in windows! Wassily Kandinsky's paintings were the inspiration for the first projects for my first and second graders. In first grade, students looked at his concentric circles color study before using only primary colored oil pastels to create their artwork. I often use this as a first project to help me assess students ability to trace, color neatly, and follow step-by-step instructions. It also is a great practice in mixing all of the secondary colors. In second grade, we studied Kandinsky's Composition VIII before making our own abstract paintings. Students then used different gadgets to print lines and shapes on top of their paintings. After they completed their artwork, they were asked to compare and contrast this very open-ended abstract project with their realistic still life paintings from last year. It was interesting to hear why some students prefer making abstract art while others got more enjoyment from making something realistic. These little artists had a lot of opinions to share! Kindergartners were introduced to shape with this second lesson. Students were to trace their hands five times on the paper. When their pencil line wrapped around their hand and touched itself, they created a shape! In art, we define shape as "a closed-off space". They drew more lines on top to make these new shapes look more like leaves. For the fun part, students used water and bleeding tissue paper to add fall colors to their drawing. They look fantastic! The 7 Art Elements (line, shape, color, texture, value, space, and form) are the basic foundation to art education. Once a student has mastered the understanding of these elements, we move on to discussing how they are used in the Principles of Design. In kindergarten, students will gradually be introduced to each element throughout the school year. For our first project, we focused on LINE. I read "Lines that Wiggle" to the kindergartners and then we talked about the different types of line. They used their arms to draw imaginary lines through the air (zig-zag, scalloped, wavy, etc.) Then, they drew several lines on their paper and colored the spaces in between. Some students, inspired by the illustrations from the book, decided to create monster faces with their lines. :)
Third grade students studied the Central American style of weaving. They worked in groups at their table to paint large pieces of paper with a variety of colors and patterns. These patterns repeat simple geometric shapes in a variety of ways. For a finishing touch, students added yarn fringe to the bottom.
This is a 5th grade lesson plan created by Mrs. Ambrosini. On the first day of class, fifth graders were asked to add details and color pre-drawn sections on a human figure. The term "juxtaposition" (unexpected lines, shapes, colors, and ideas that are placed side by side) was introduced. :)
Both ACCESS classes (at Wilson Creek and at Anna McDonald) get an additional art time in their own classroom each week. During this time, students participate in projects that offer a lot of sensory exploration and experiment more with a variety of art tools and materials. For the first project, students created "texture boards". They chose different scrap pieces of cloth and were told to focus on their texture. Then, they glued these pieces of cloth onto their cardboard square in any way they chose. They had the option to paint the glue on the material, or to use their fingers to dip the cloth straight into a bowl of watered down glue. Once dried, these boards are a lot of fun to touch! Mrs. Borchert created and presented the second project for Anna McDonald's ACCESS class this year. Inspired by the look of African mud cloth, this project required students to first make their own stamp with foam stickers. Then they used their stamps to print white paint onto black paper. They all looked fantastic!
|
AuthorI am a K - 5th grade art teacher at Wilson Creek Elementary and Anna McDonald School in Manhattan, IL. I am also a mother of two little girls (who share my love of art)! Archives
February 2019
Categories
All
|