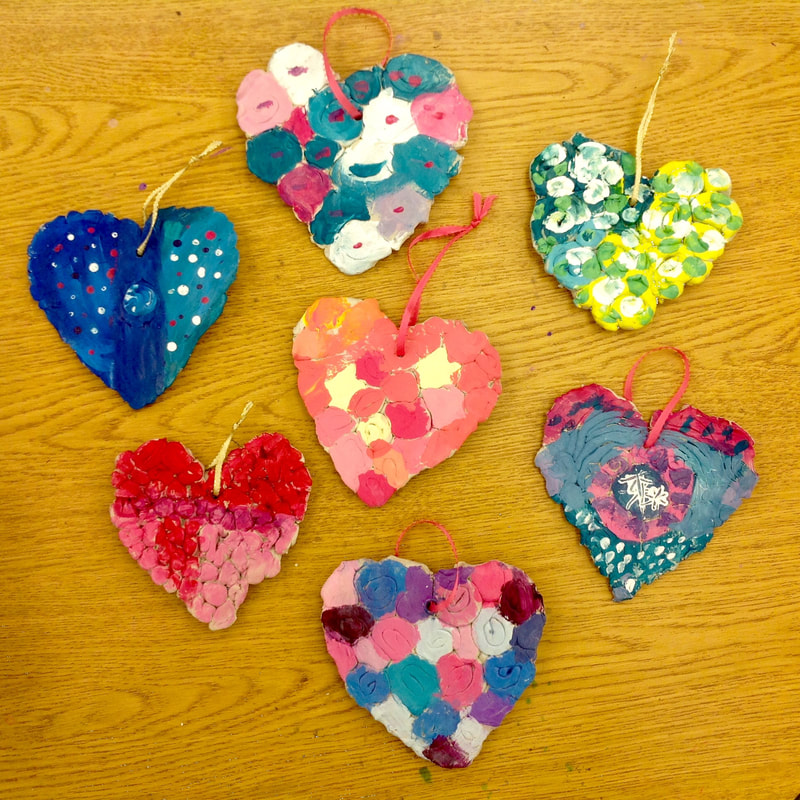
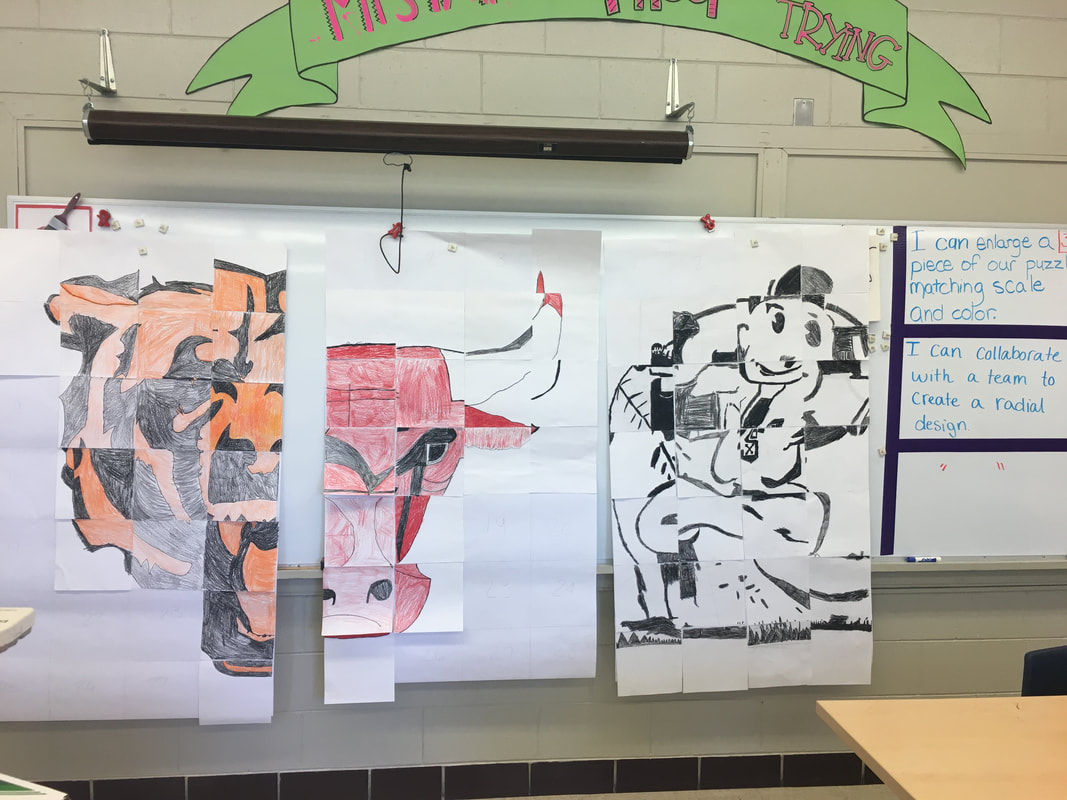
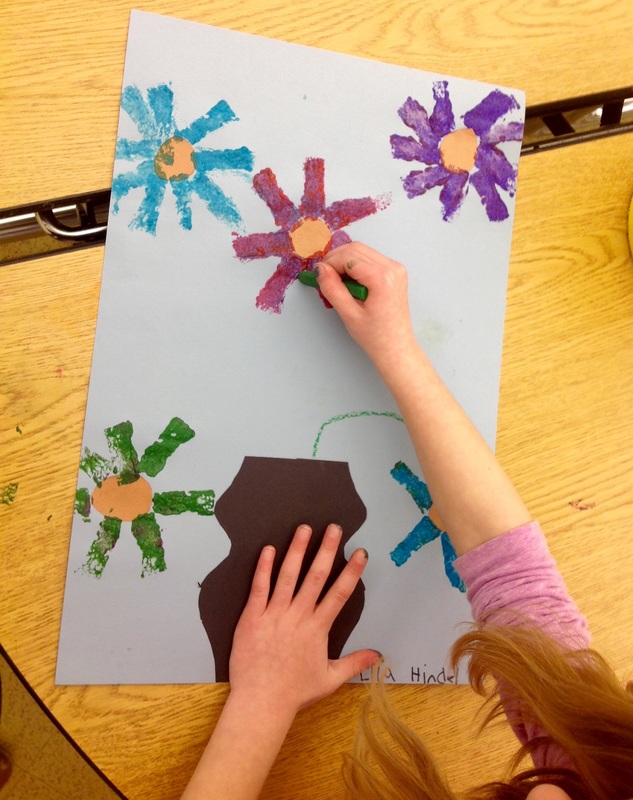
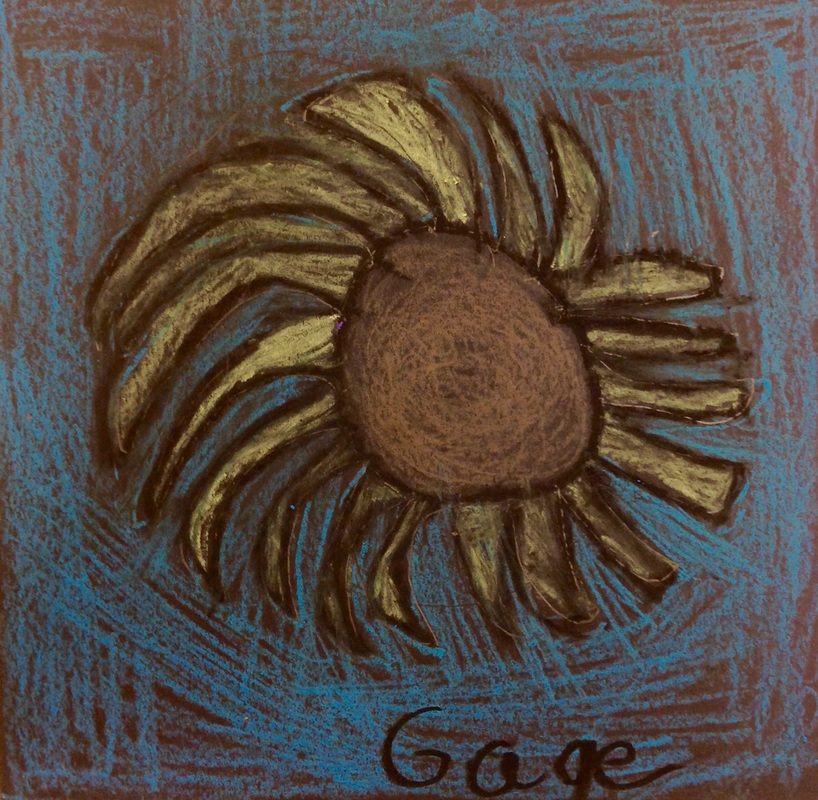
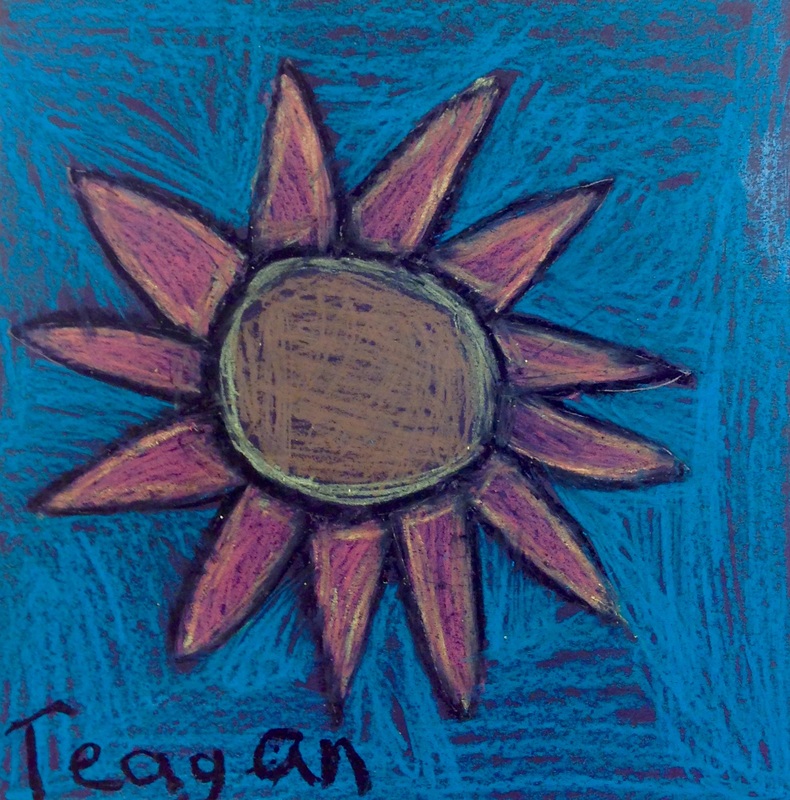
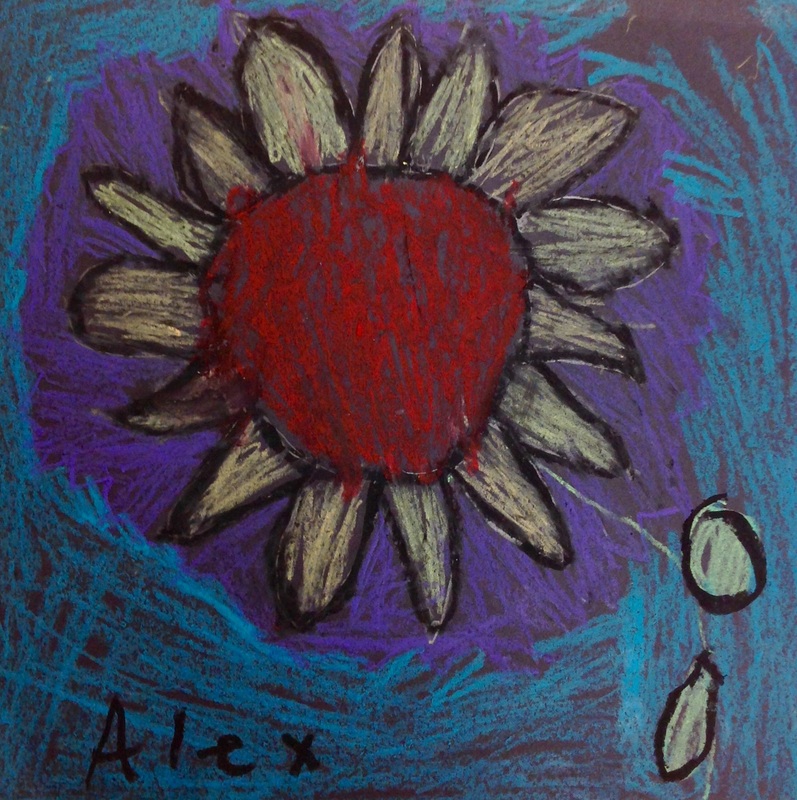
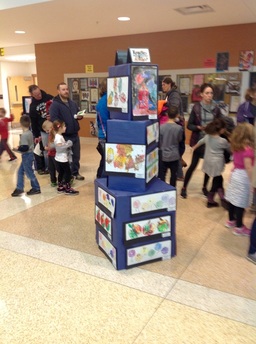
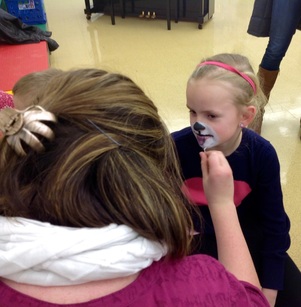
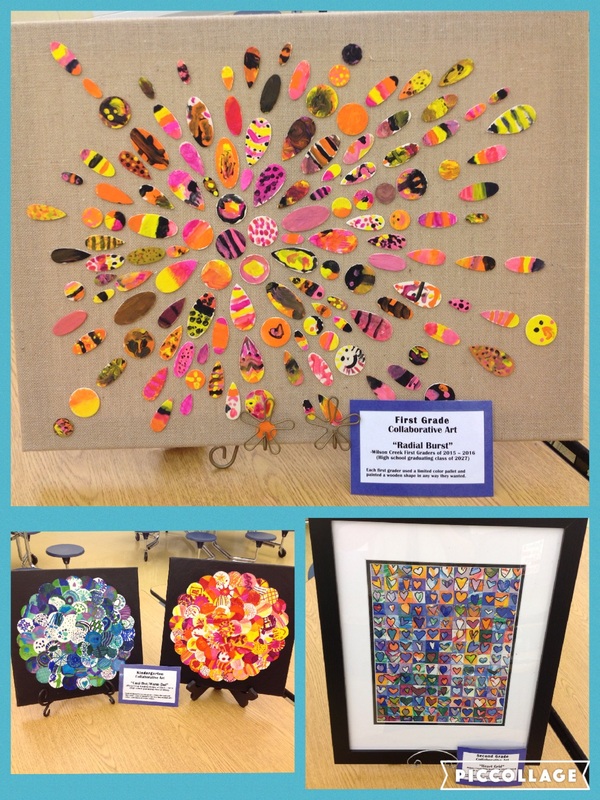
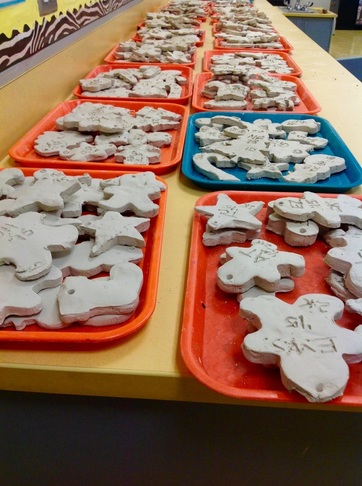
Happy belated Valentines Day! Here at Wilson Creek, our little kiddos love celebrating special days of any sort. If you were lucky enough to be in the building during the 100th day of school, you would have seen all our little people dressed up as 100 year olds (which is the sweetest and funniest thing you can imagine)! I am lucky that I get to share in the celebration of these holidays in the art room. This is my 7th year of teaching, yet I am still surprised by how far in advance we have to start any holiday-themed project. We started these clay hearts at the end of January which should have given ample time to finish, wrap, and send these lovelies home. But throw in some absences and the polar vortex cancellations and this became something that had to be RUSHED! I am so thankful for having a grandparent volunteer who jumped right in and helped me wrap all of these. She is the best!
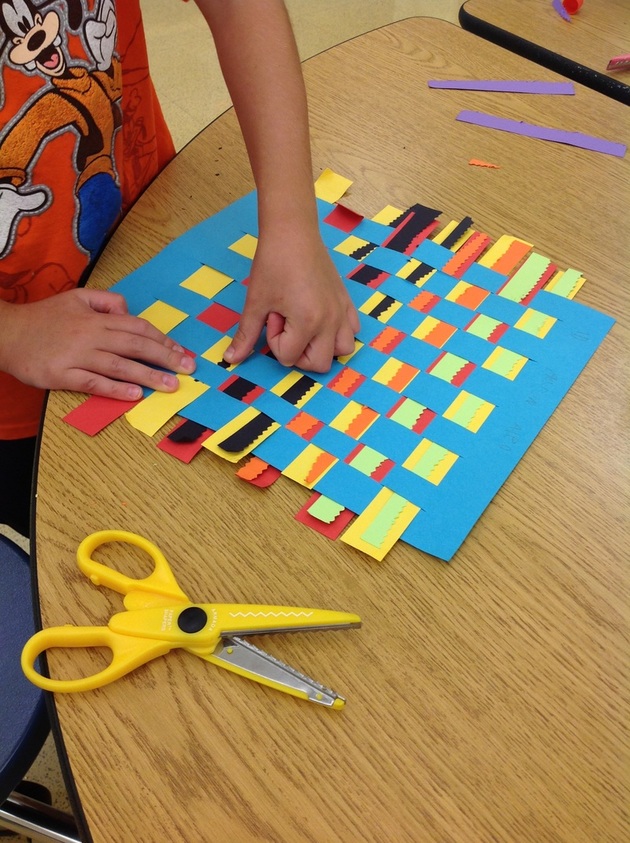
So this is how we created these:
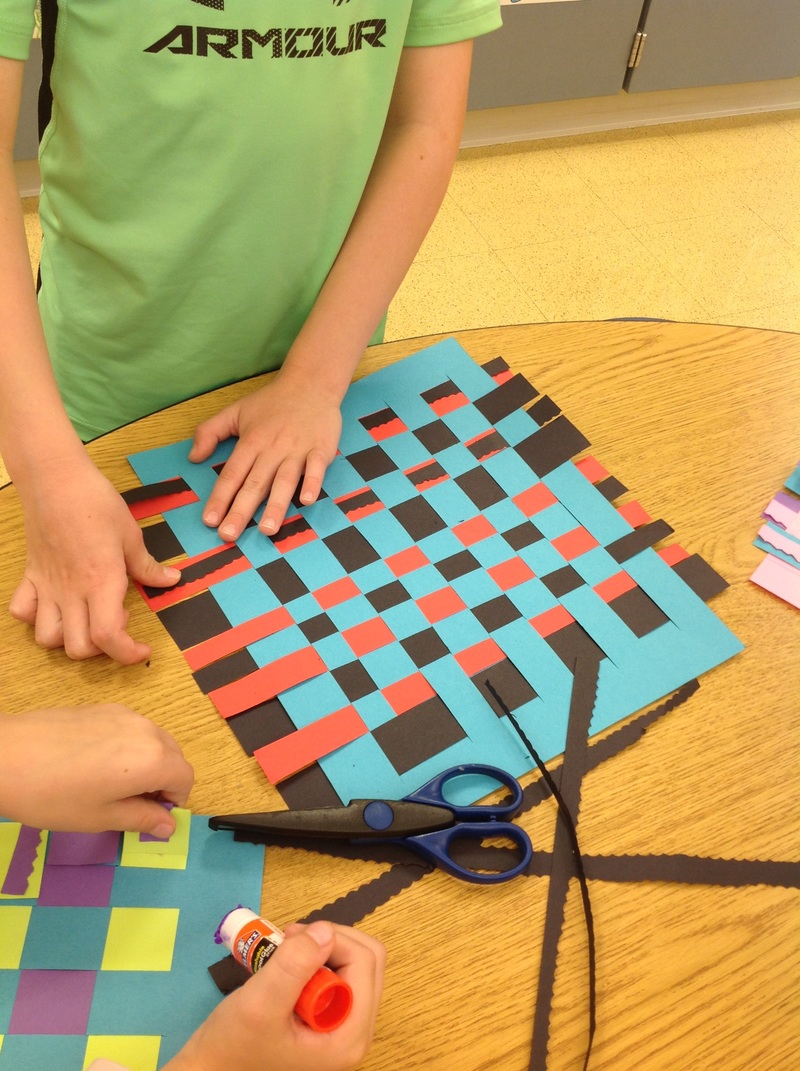
So this is how we created these:
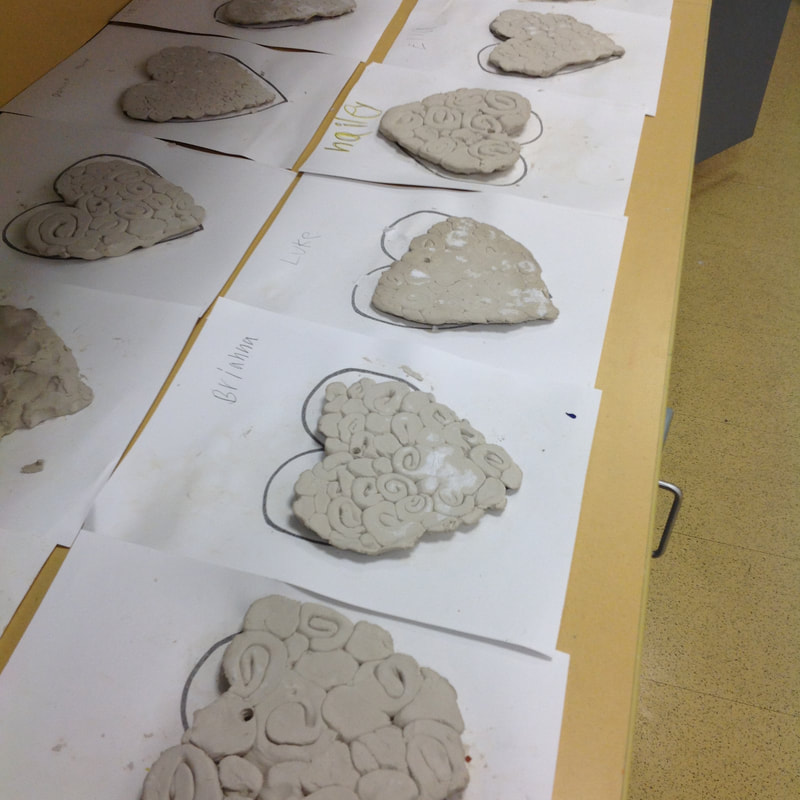
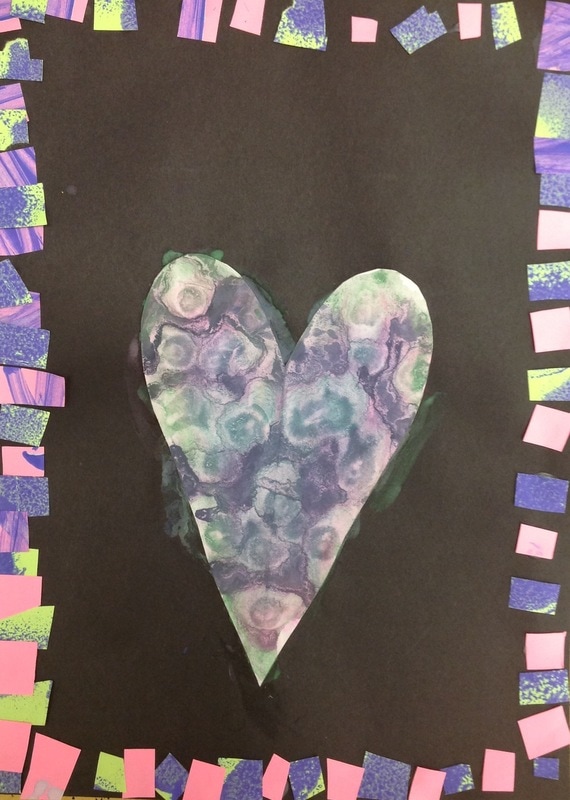
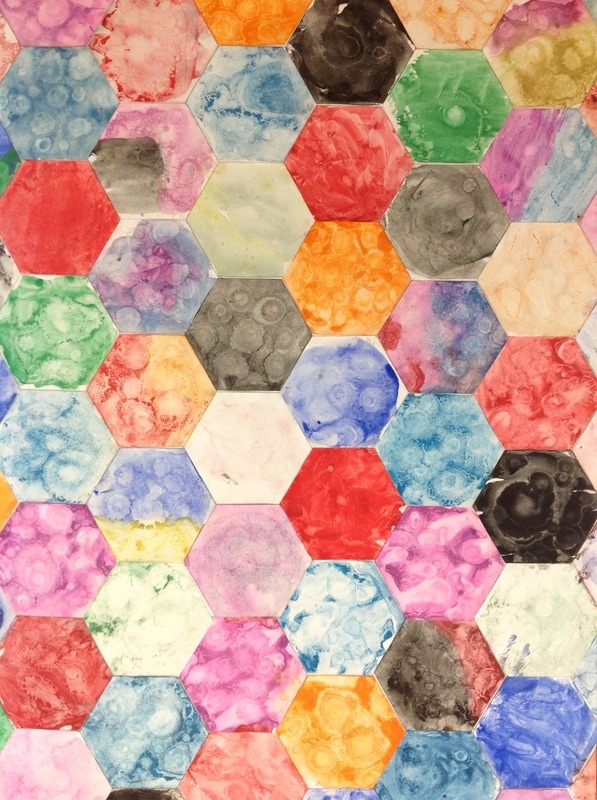
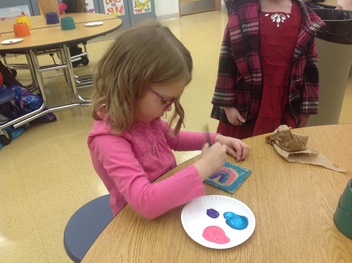
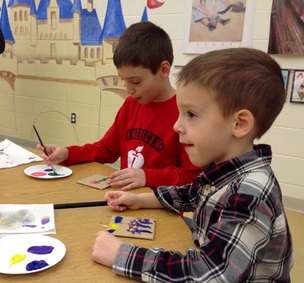
Students practiced rolling clay into coils and balls. They then wrapped their coils into spirals. They arranged these pieces of clay on a pieces of cardstock that had a heart copied on it. They then pressed the clay together and blended the entire surface smooth. When they lifted it off the paper, the other side still had the pattern on it. (Side note: you may notice that there is some pieces of paper stuck to some of those hearts. If you just let the clay dry, that paper peels off easily.) We used air dry clay which unfortunately is pretty brittle. But our school is in the process of something GREAT that will alleviate that issue for future clay projects ;) . If your child's project does break, I suggest using hot glue to fix it. An even better solution is to cut out a heart from cardboard from a cereal box and hot glue the pieces to that. I ended up having to do that for a few...
 |  |
 | 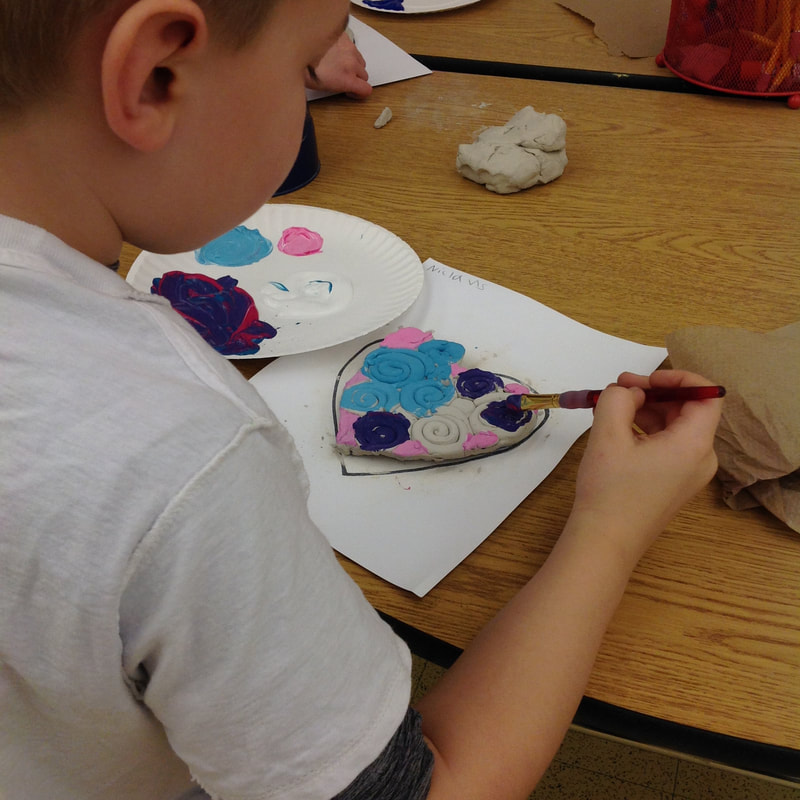 |
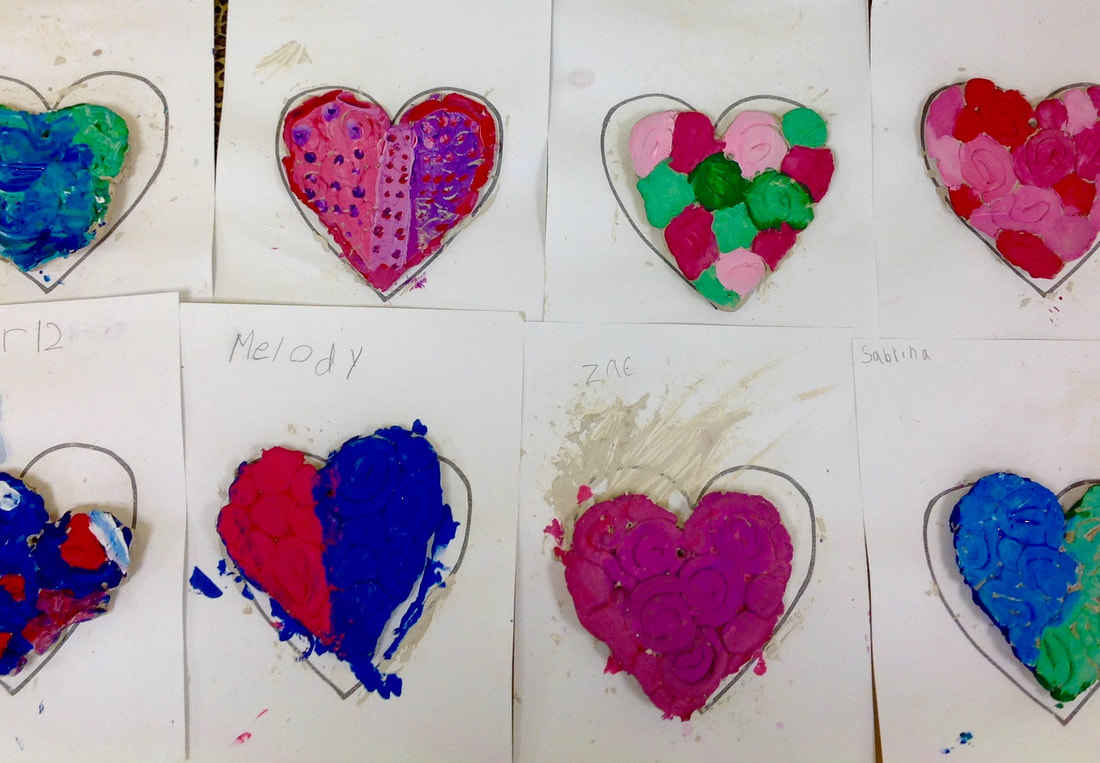
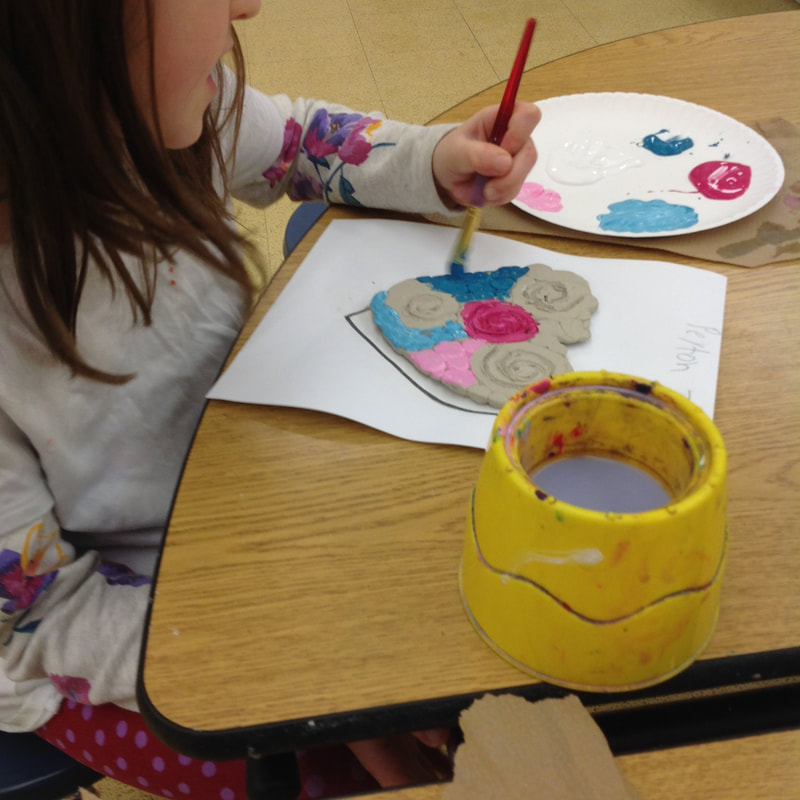
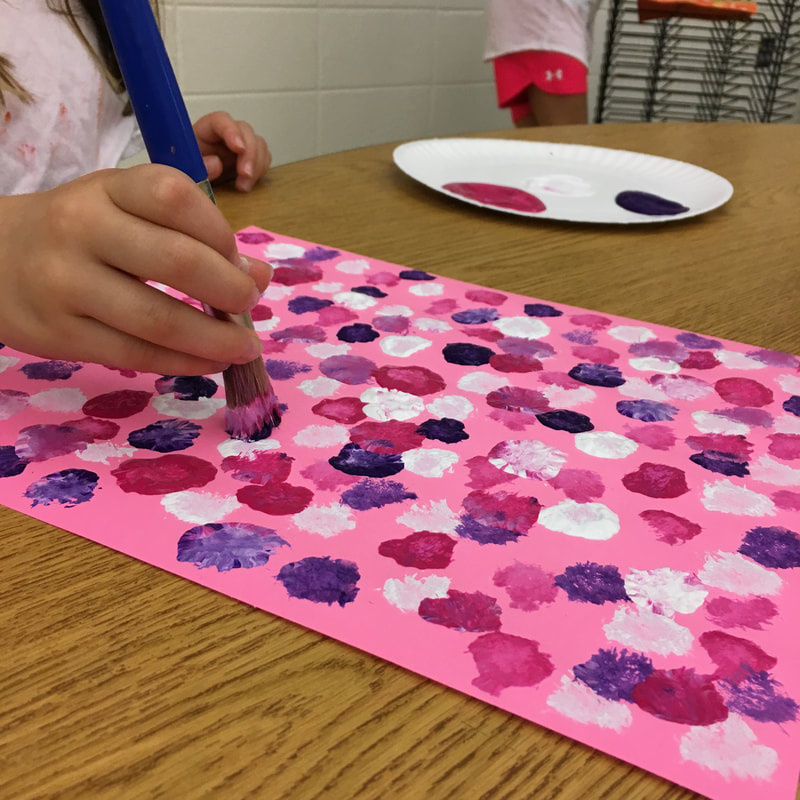
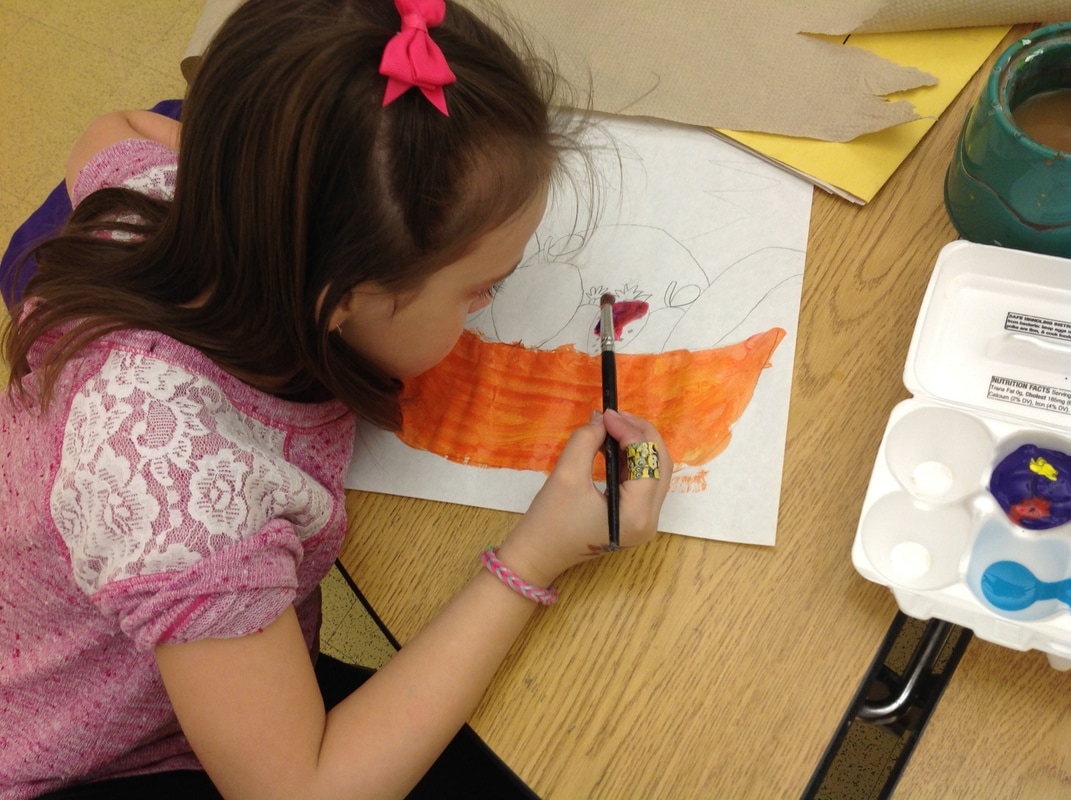
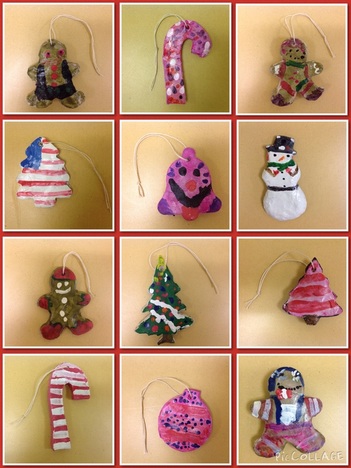
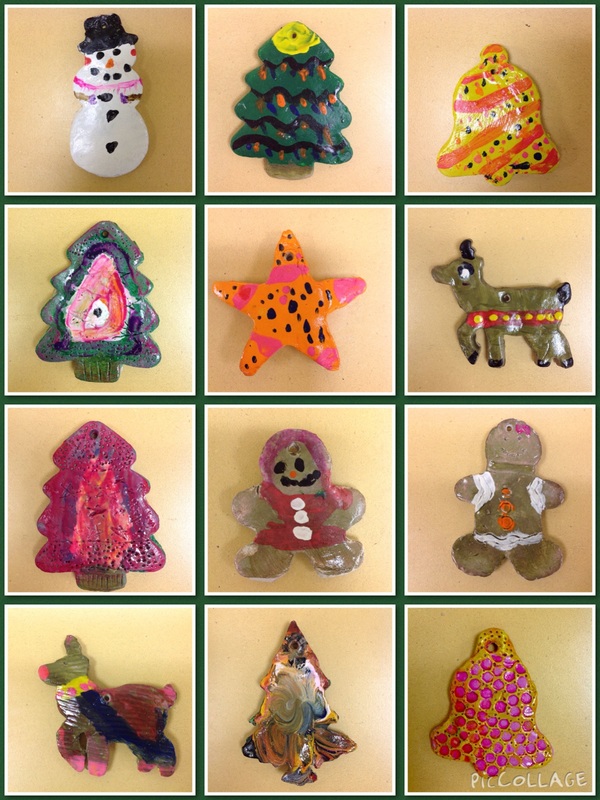
Students used tempera paints to add color. Each student was given a paper plate with white paint and their choice of two other colors. They were encouraged to mix tints of their colors, but it wasn't a requirement. Before the clay dried, we poked small holes in the top so these can be hung up. I also experimented with giving some of these a clear acrylic wash on top. I think it really helped the finish and will do it for all of the classes in the future.


 RSS Feed
