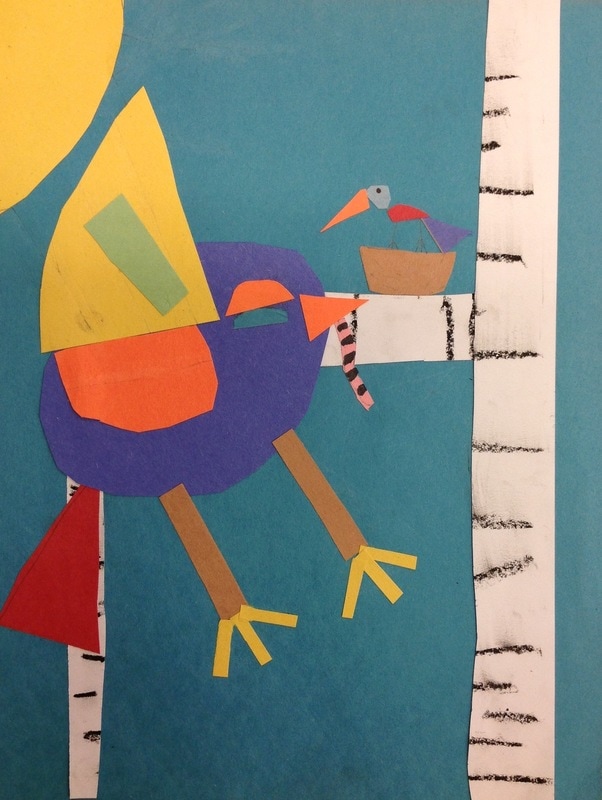
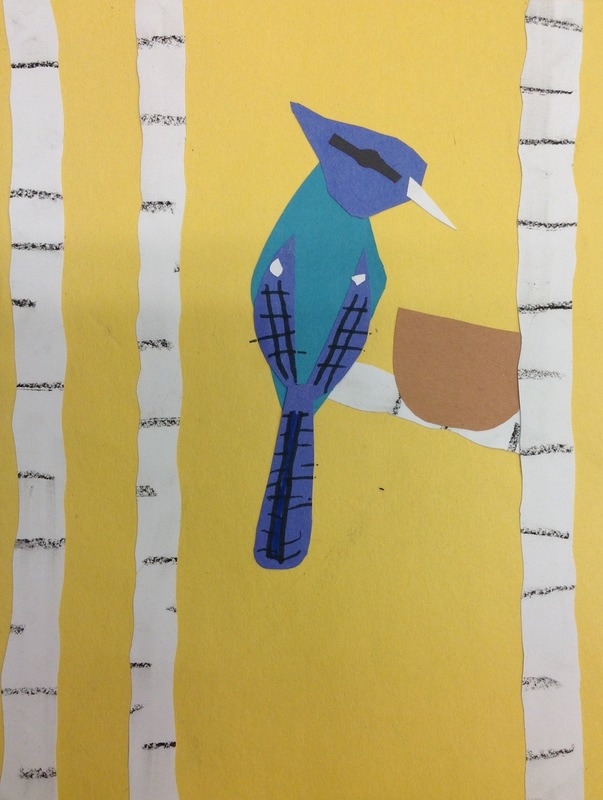
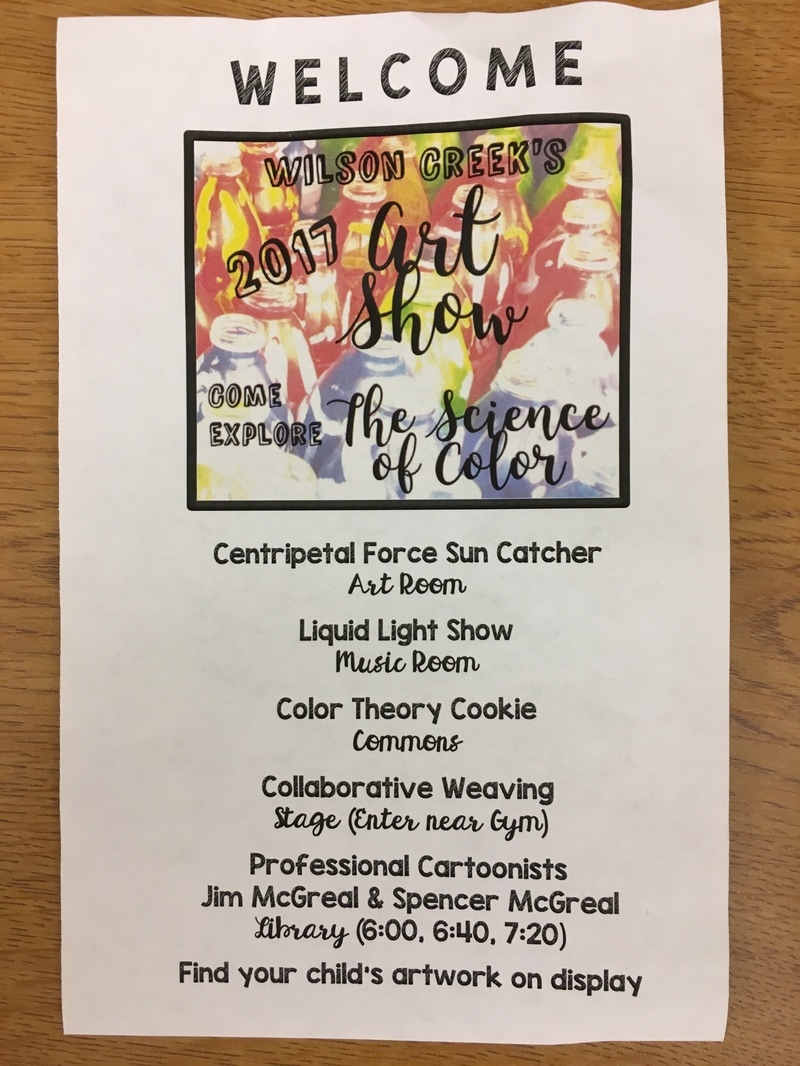
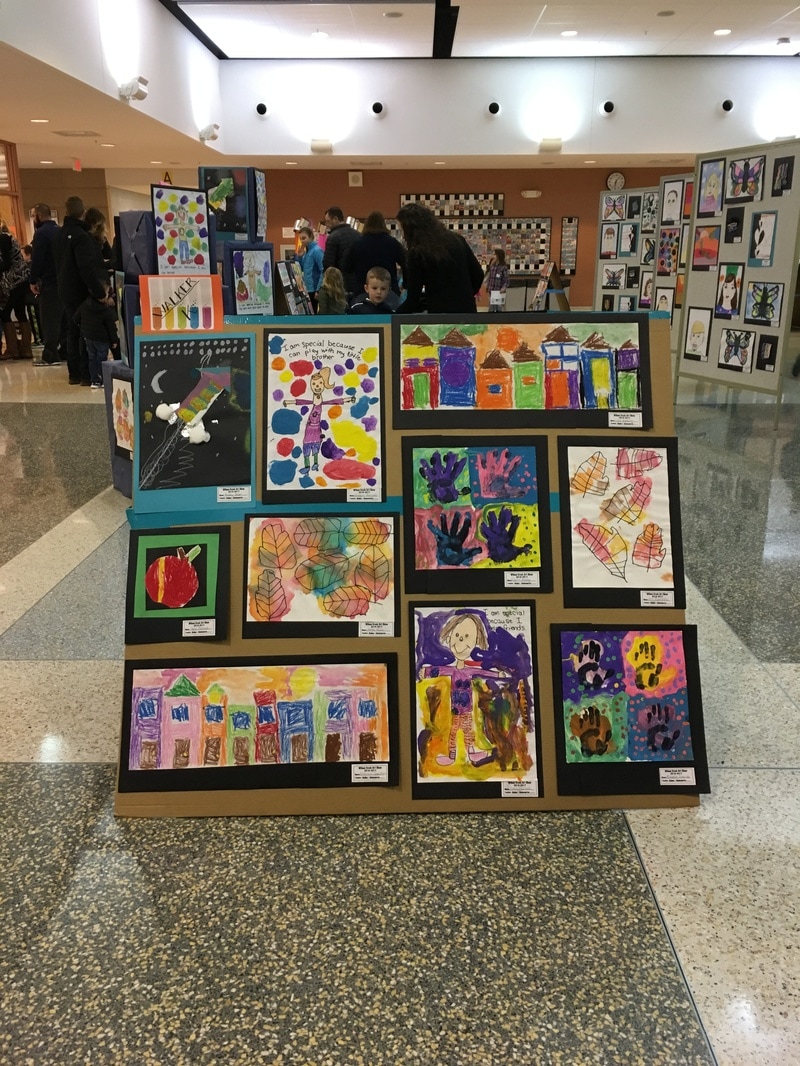
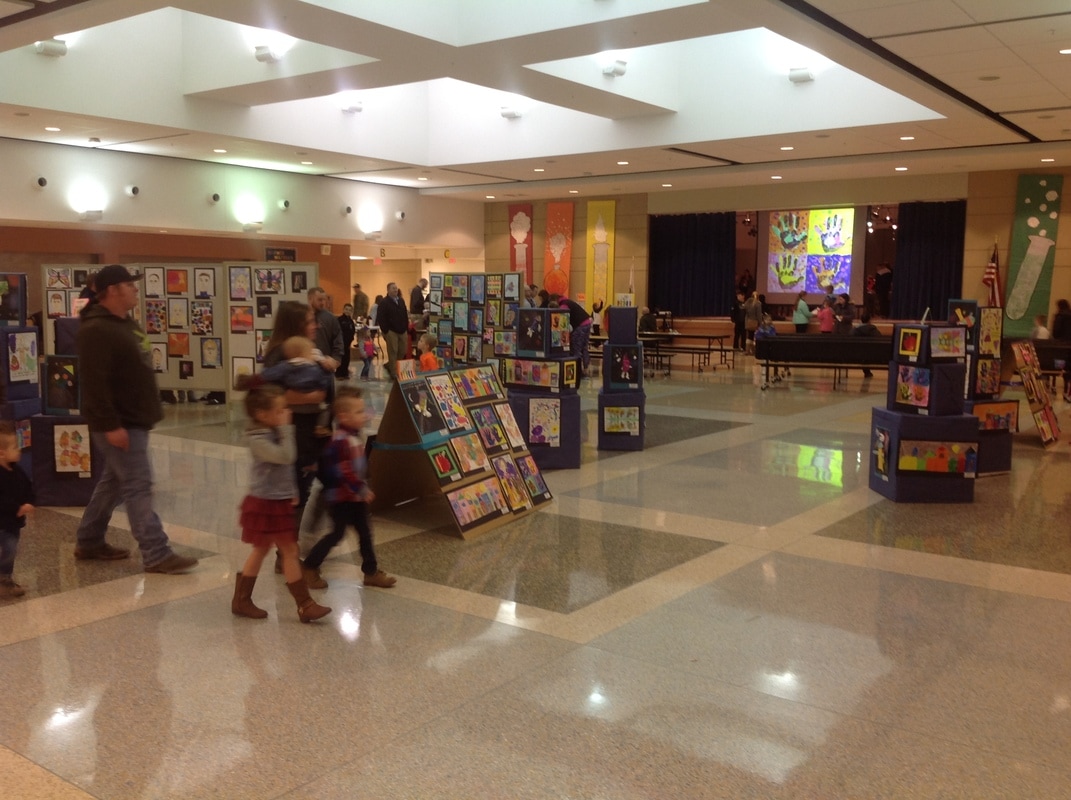
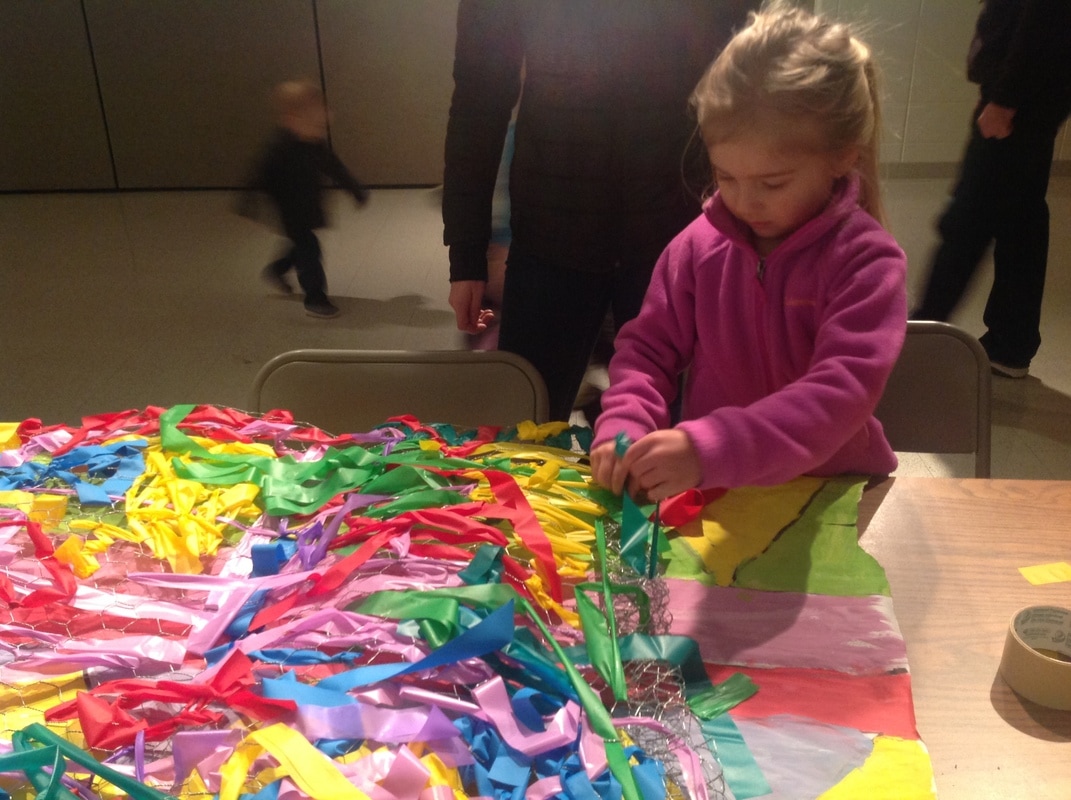
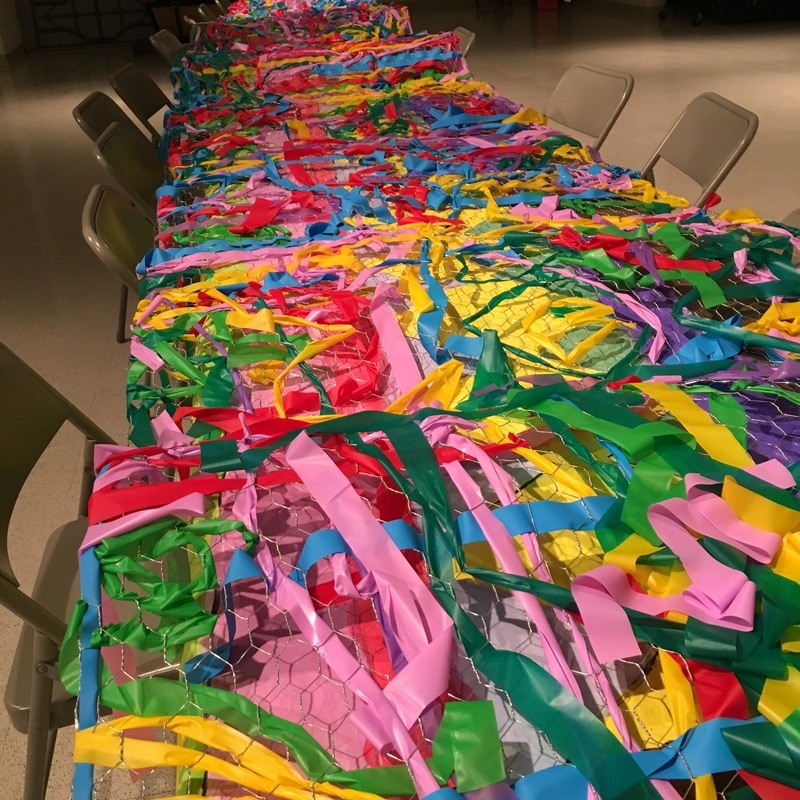
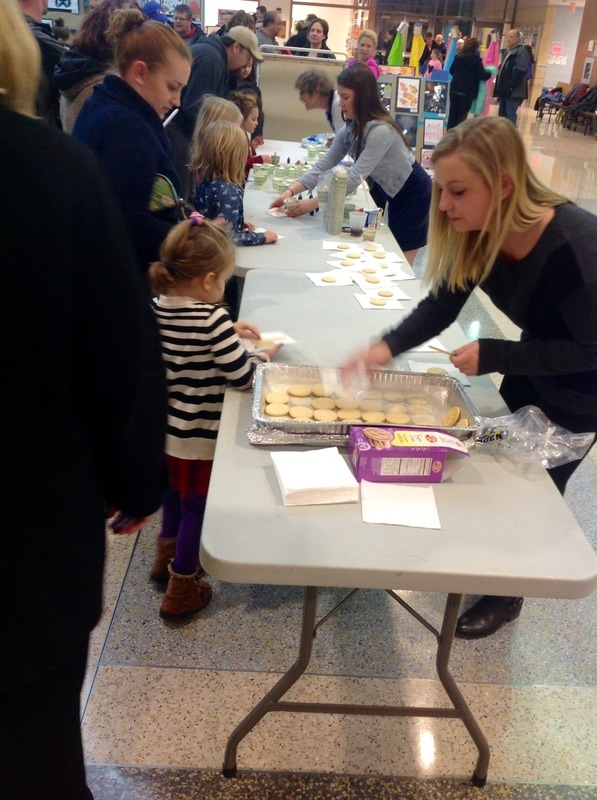
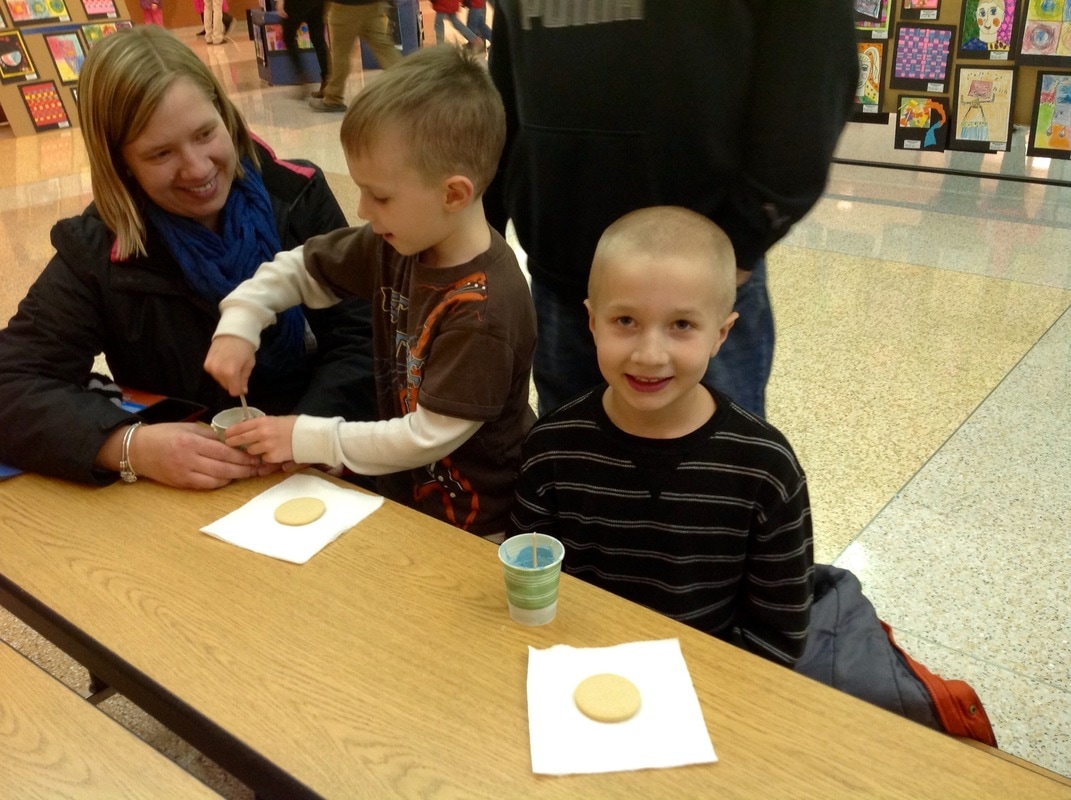
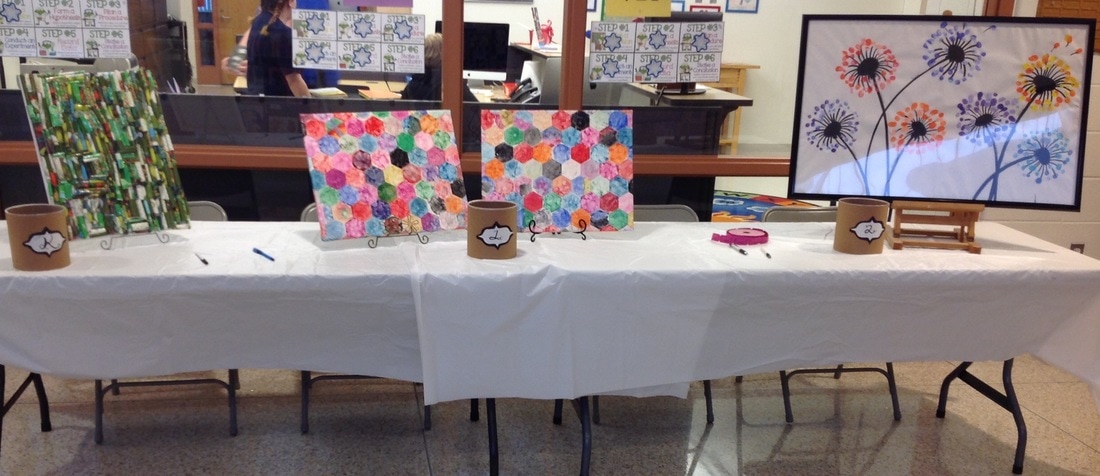
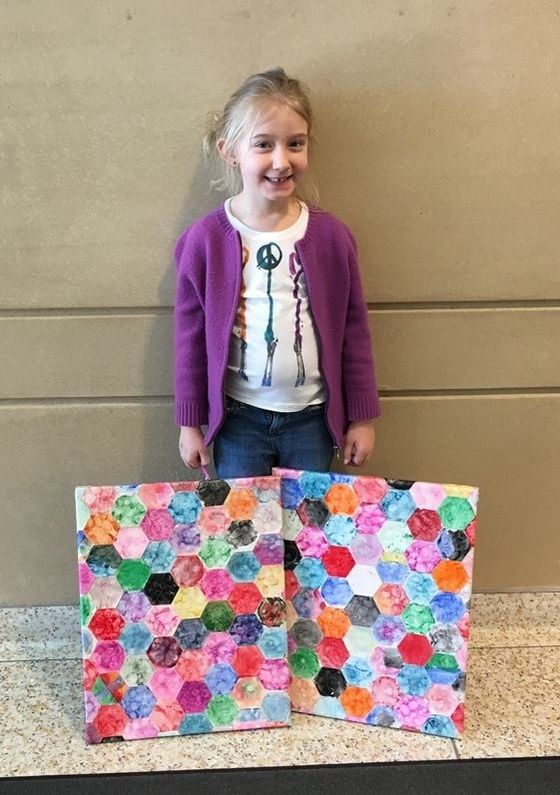
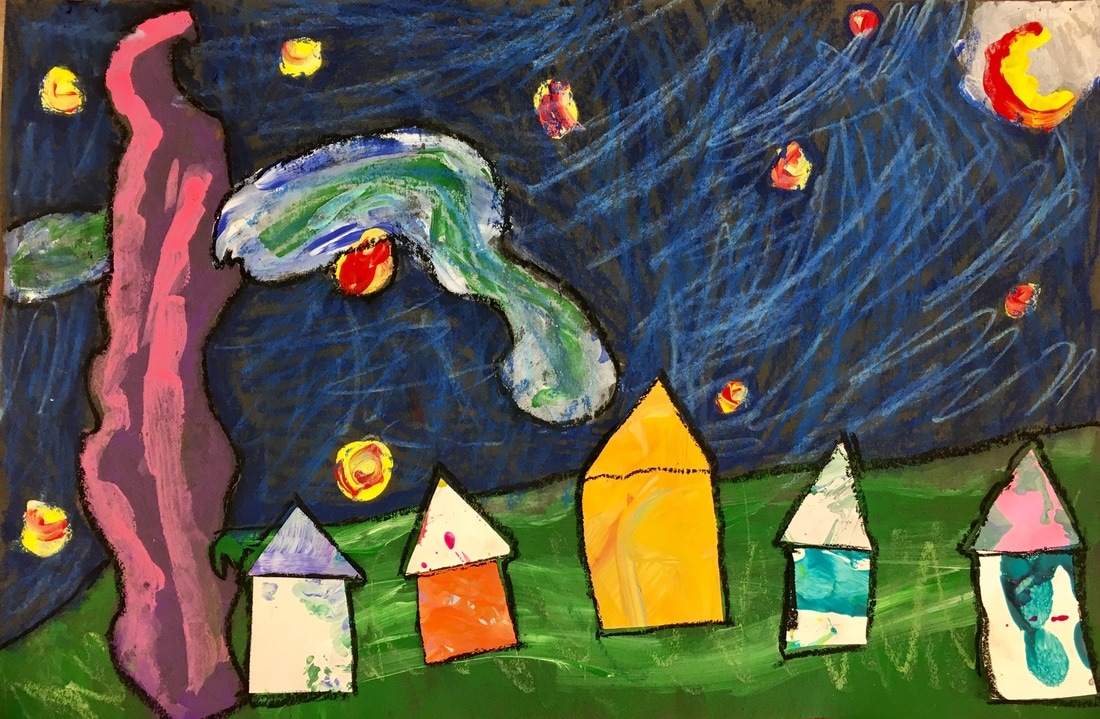
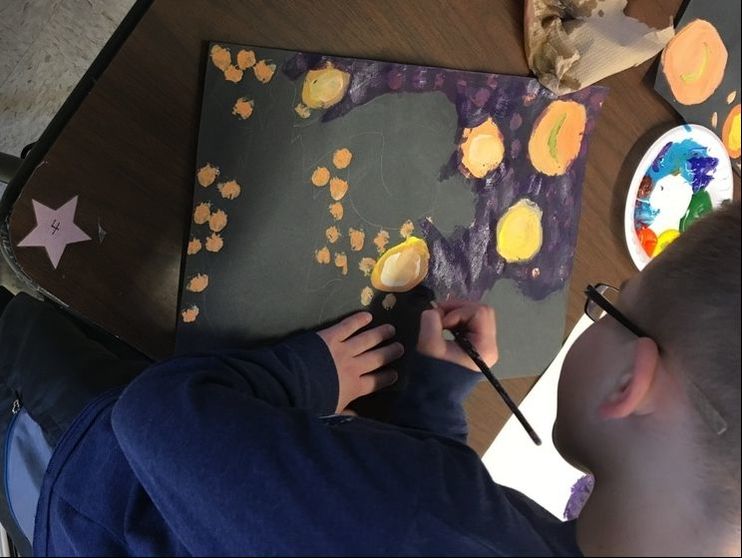
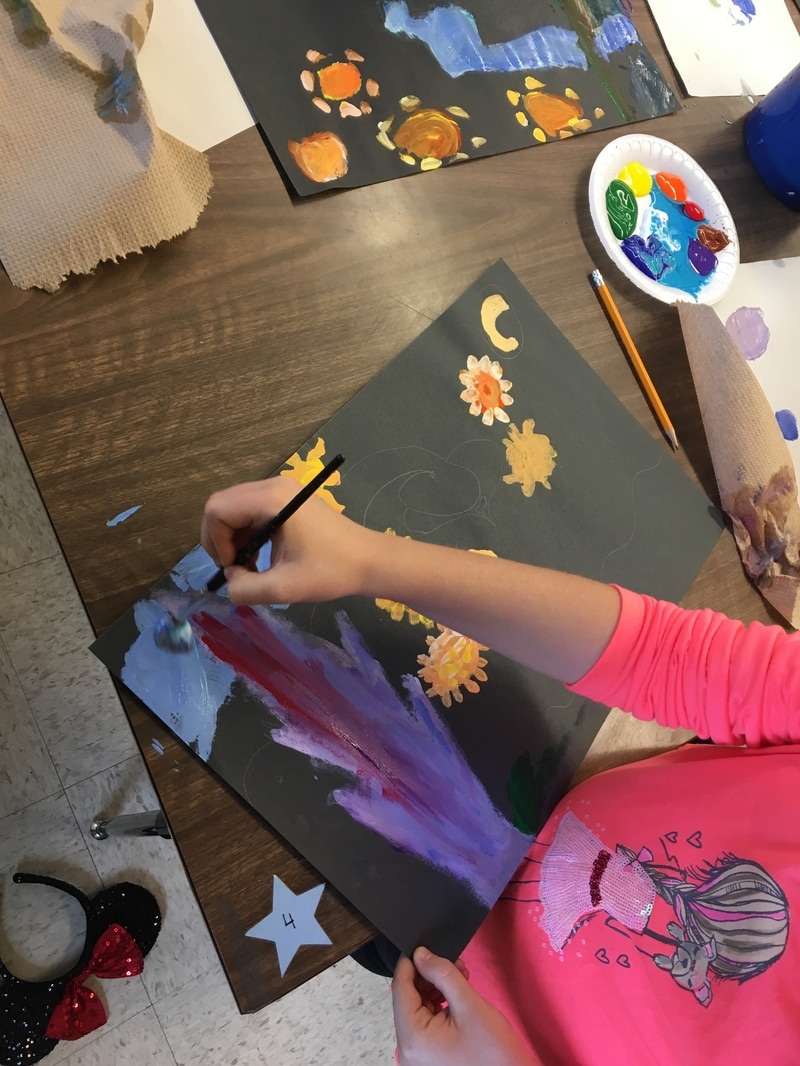
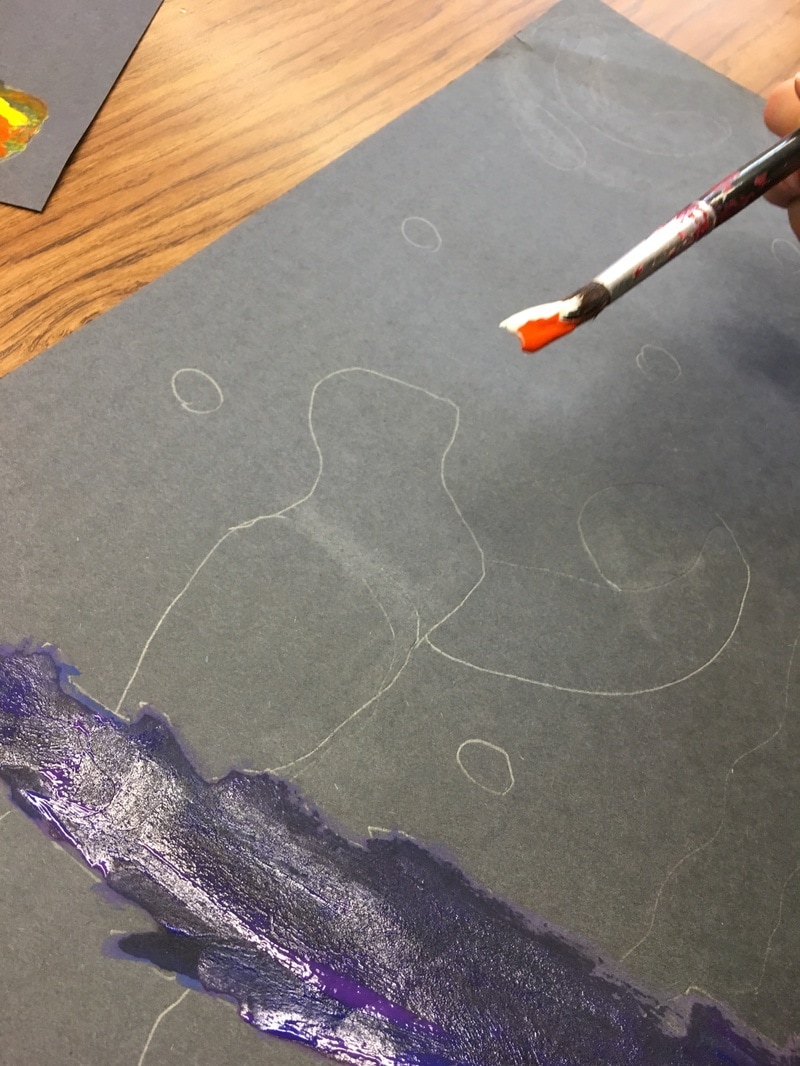
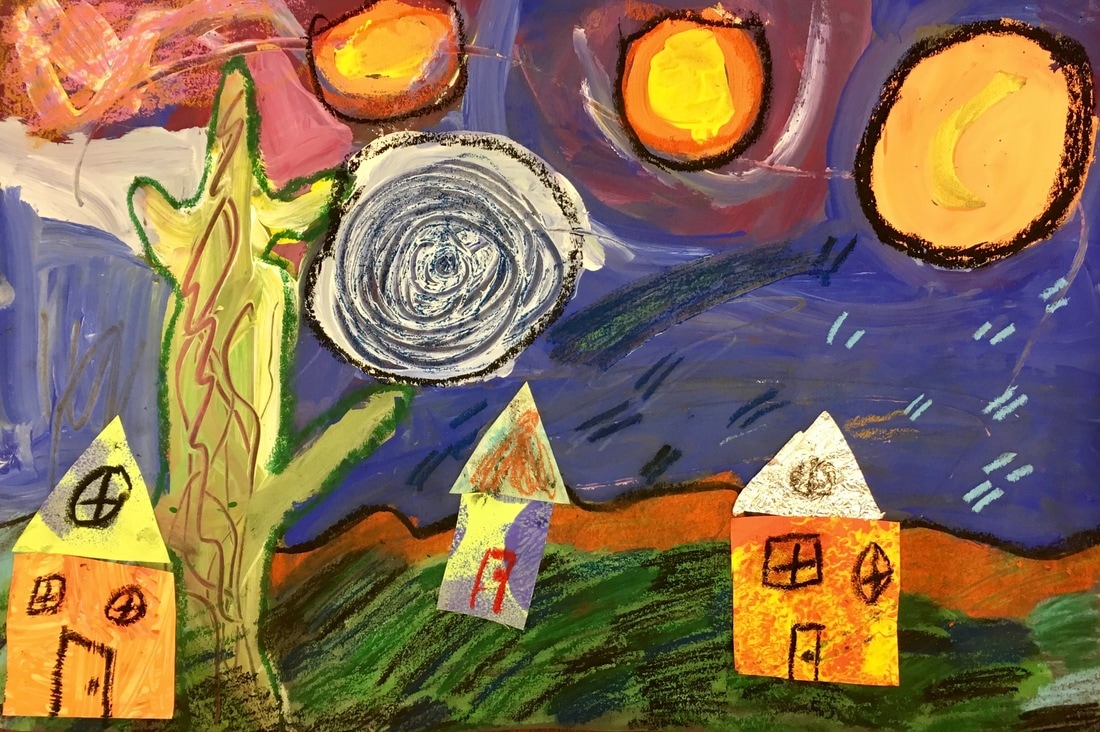
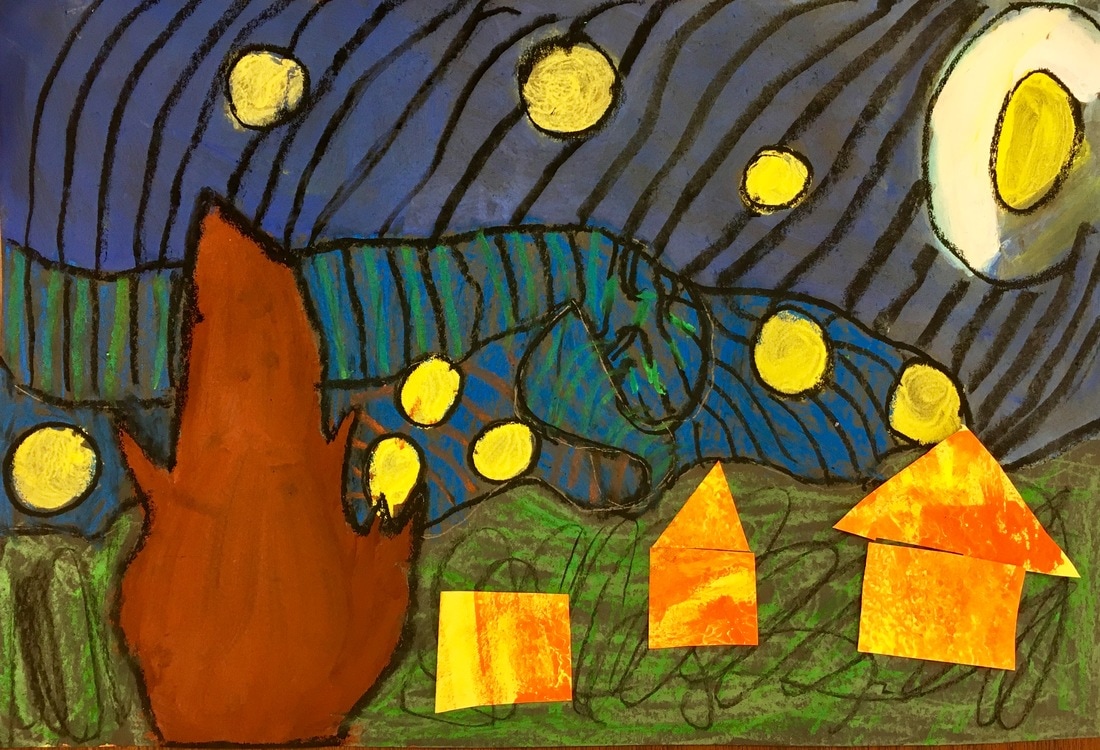
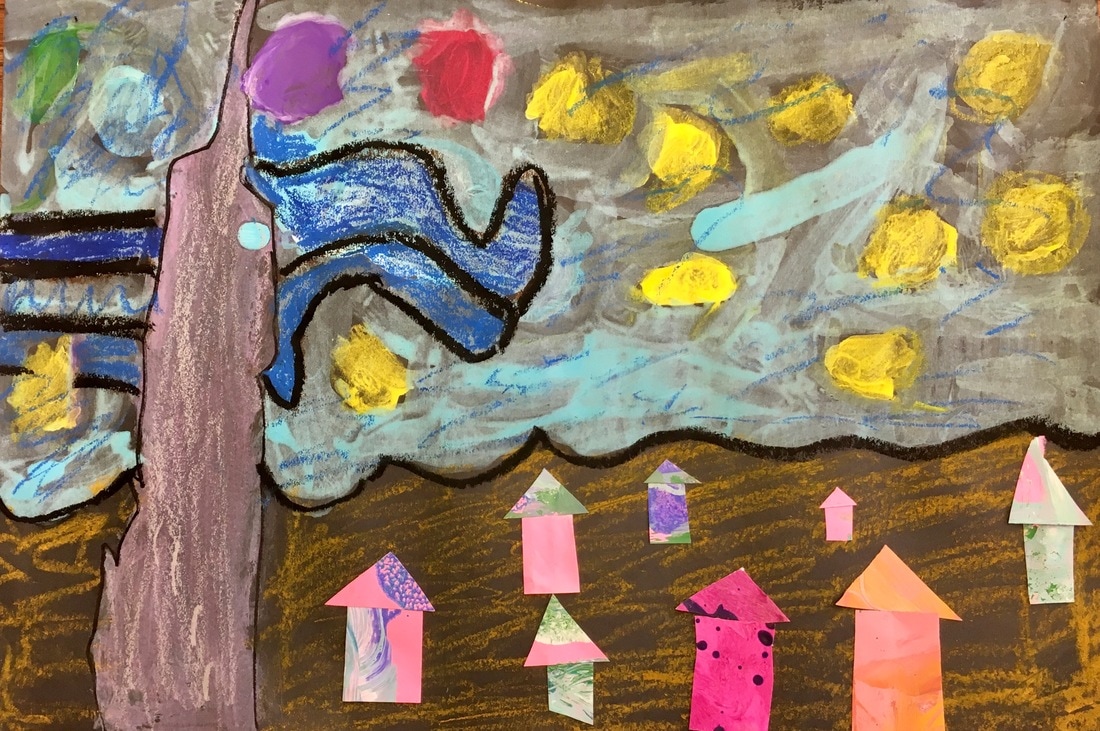
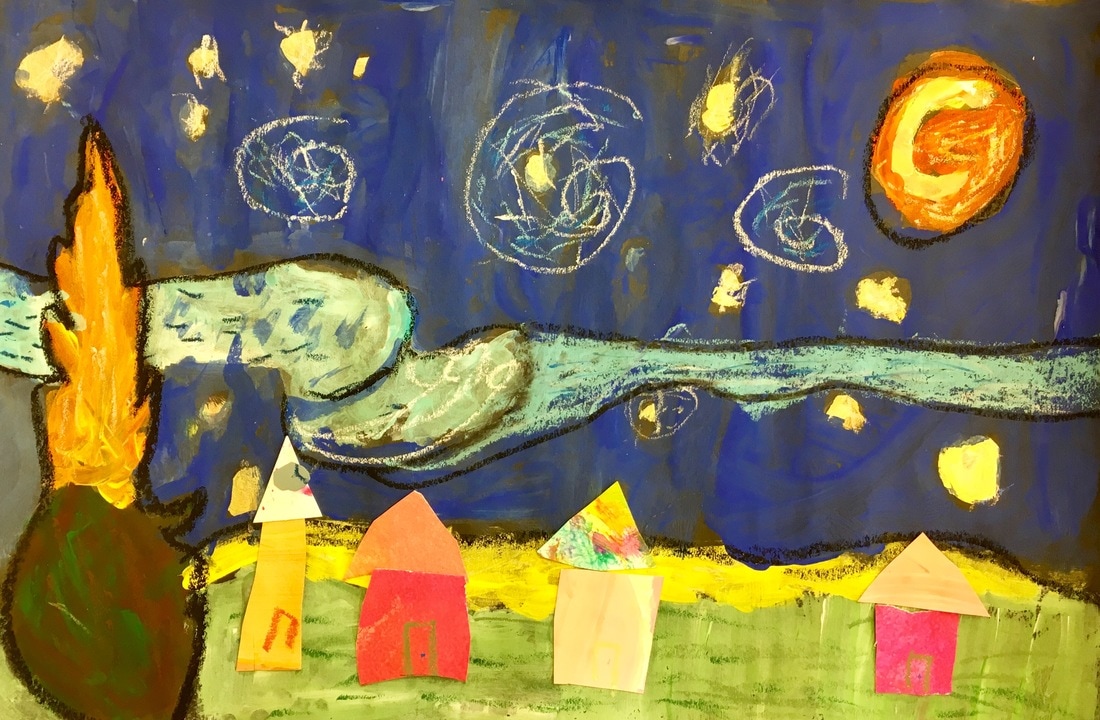
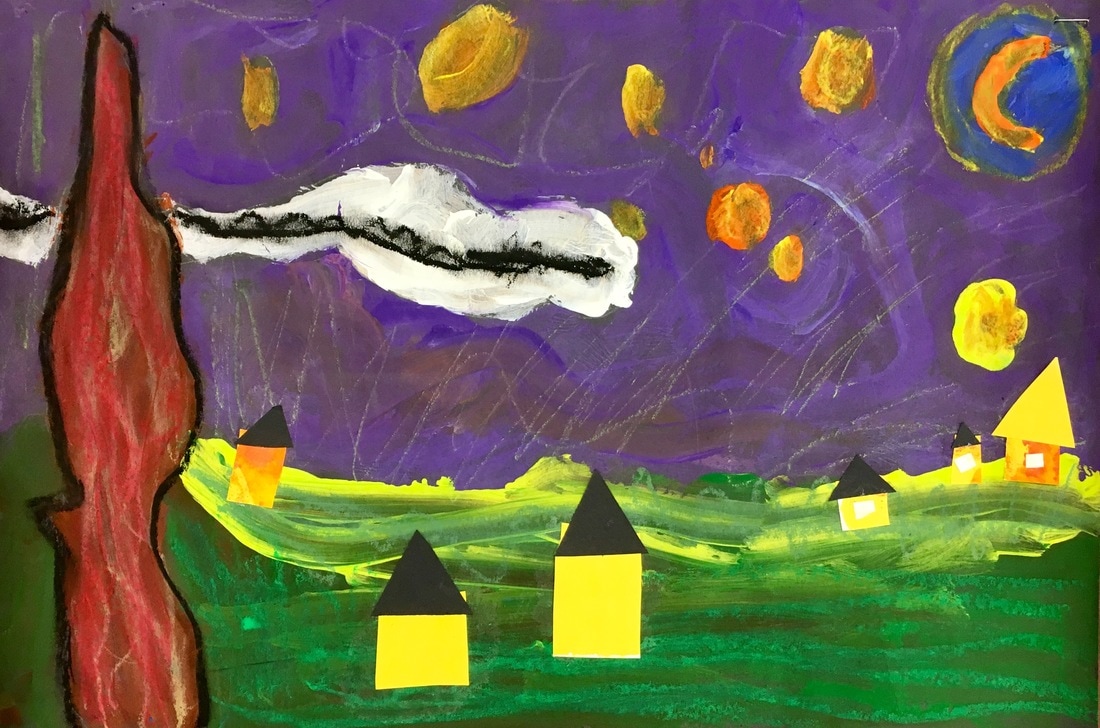
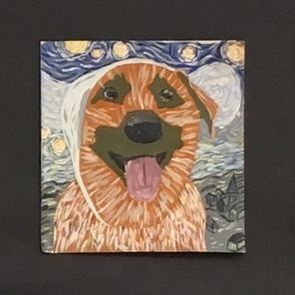
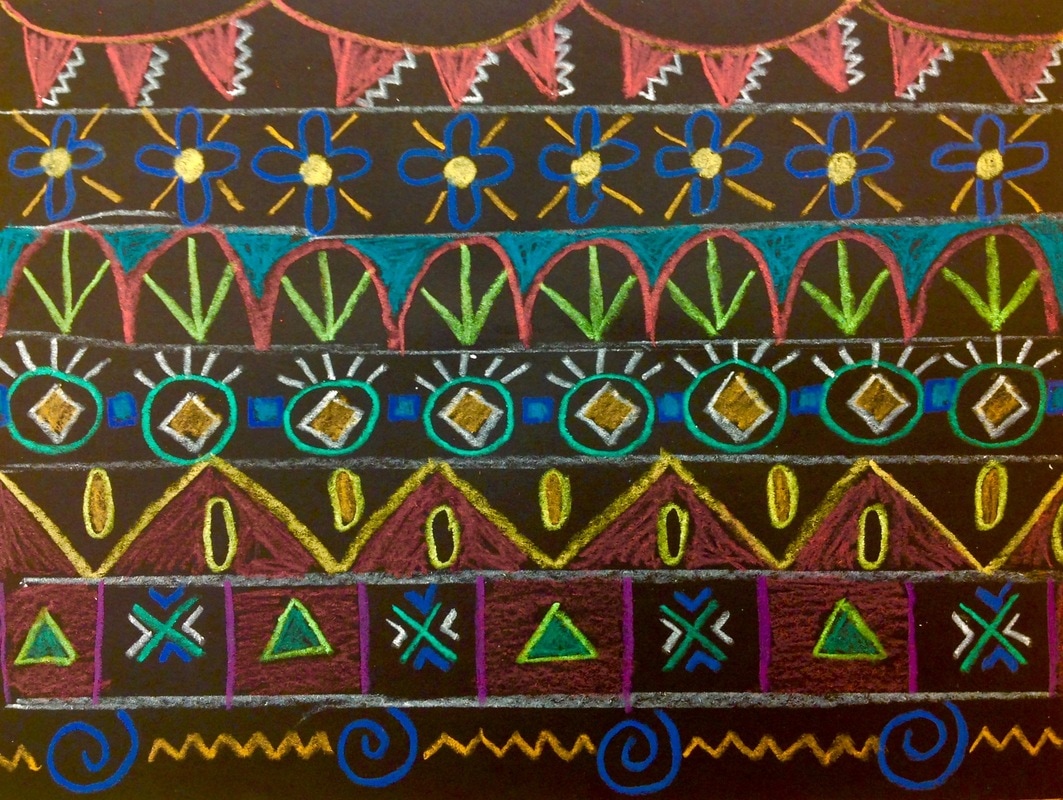
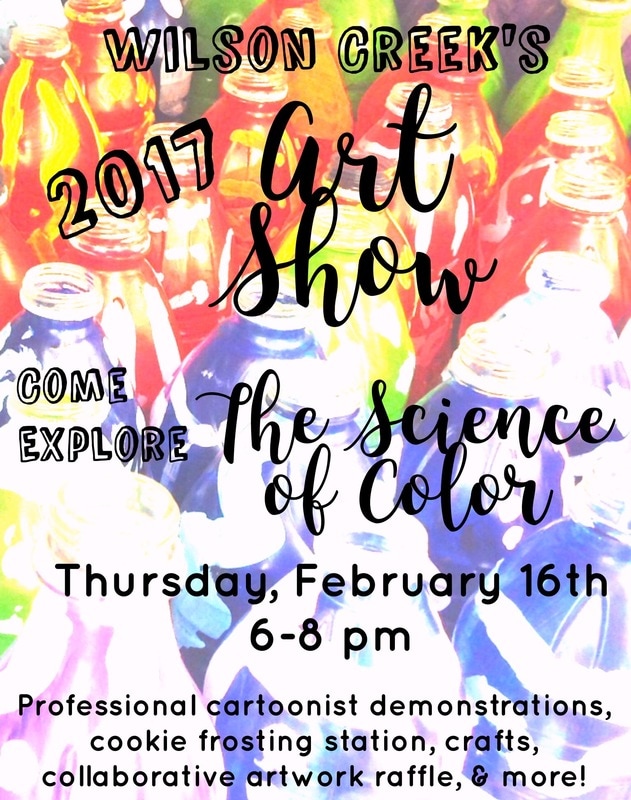
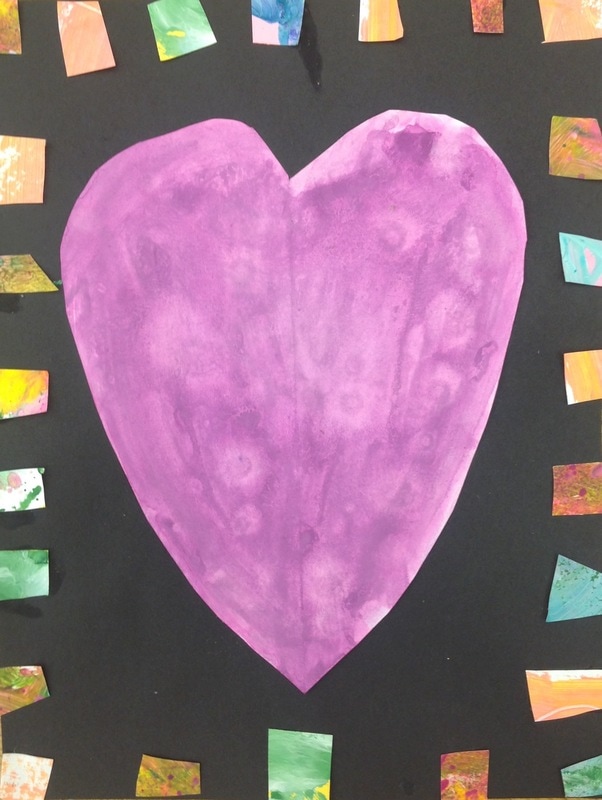
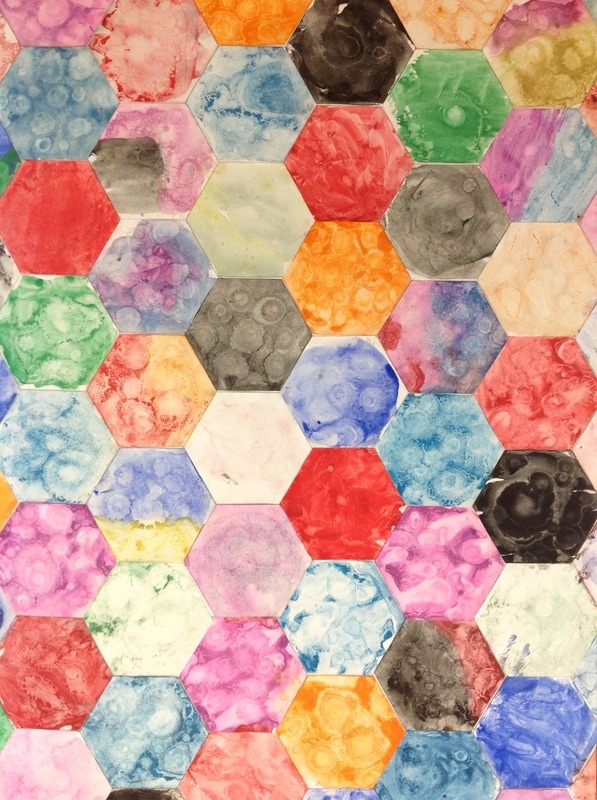
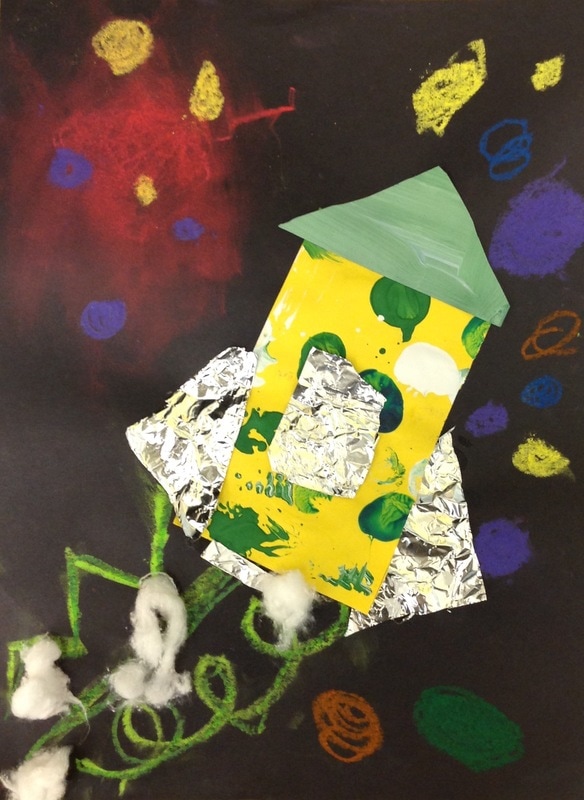
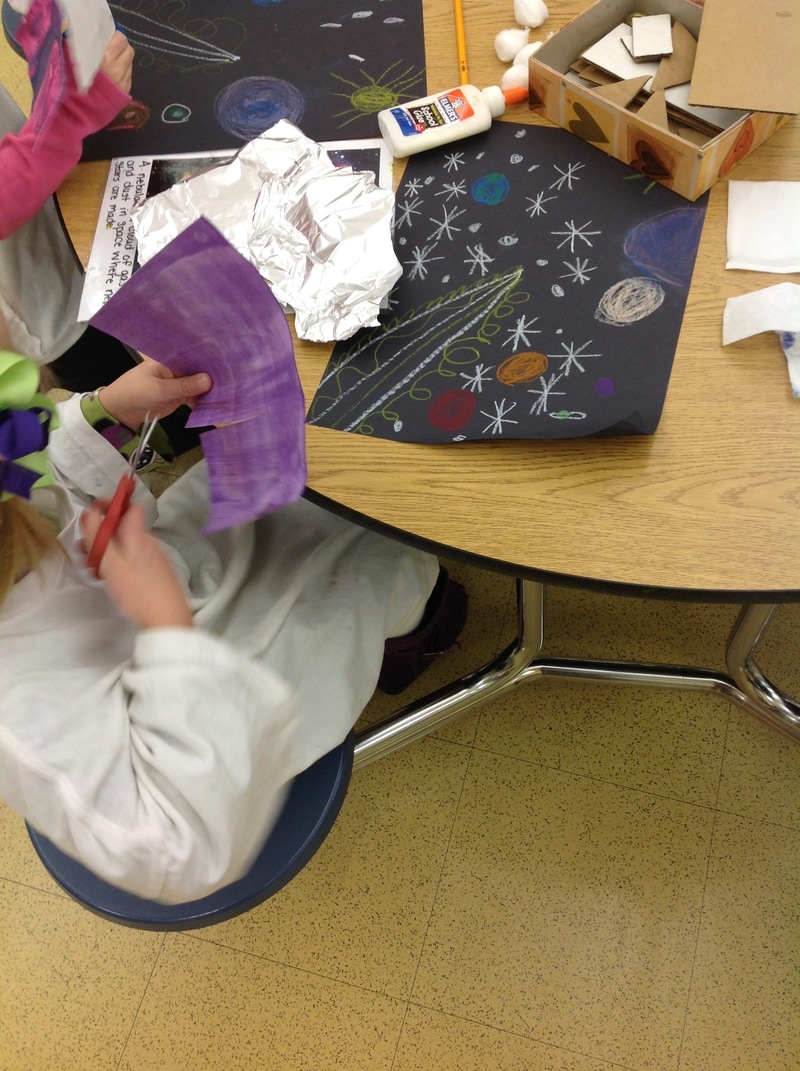
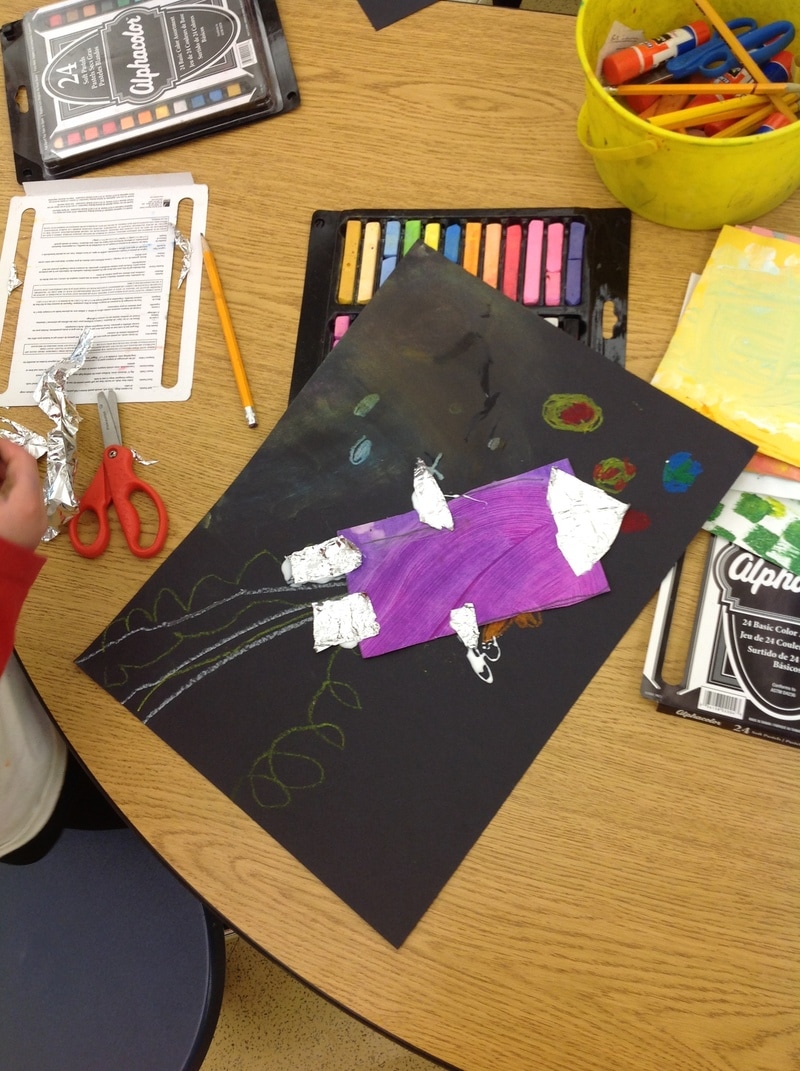
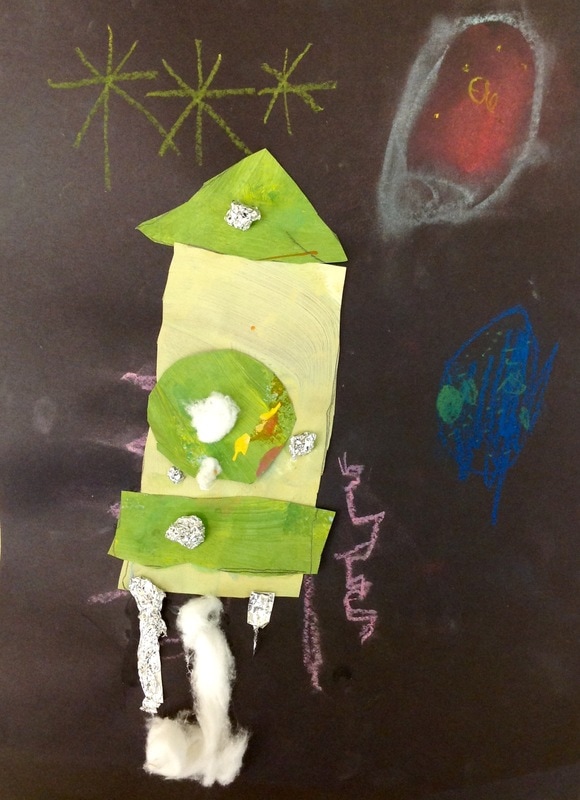
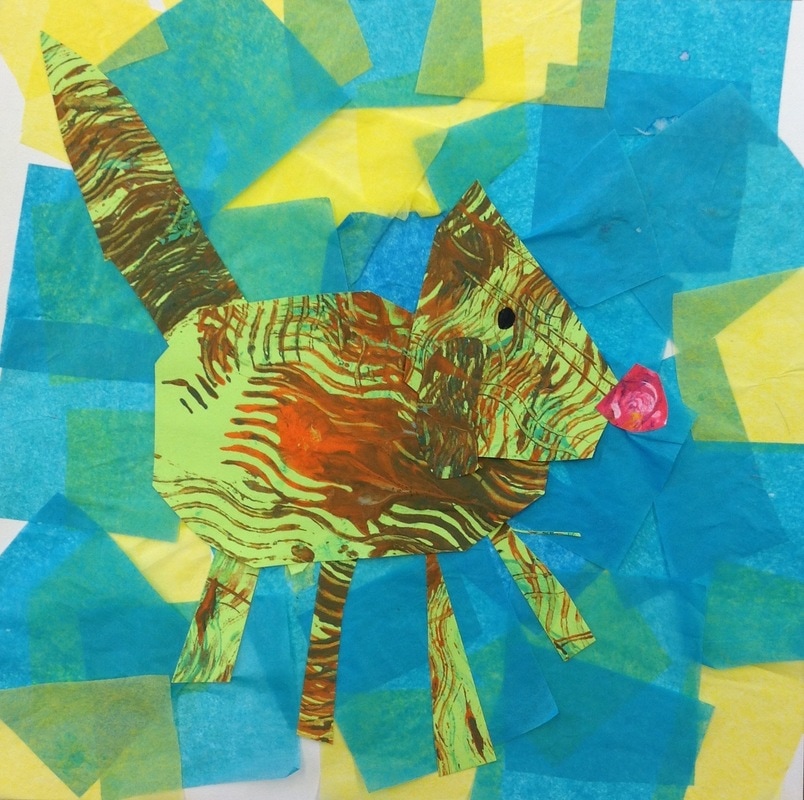
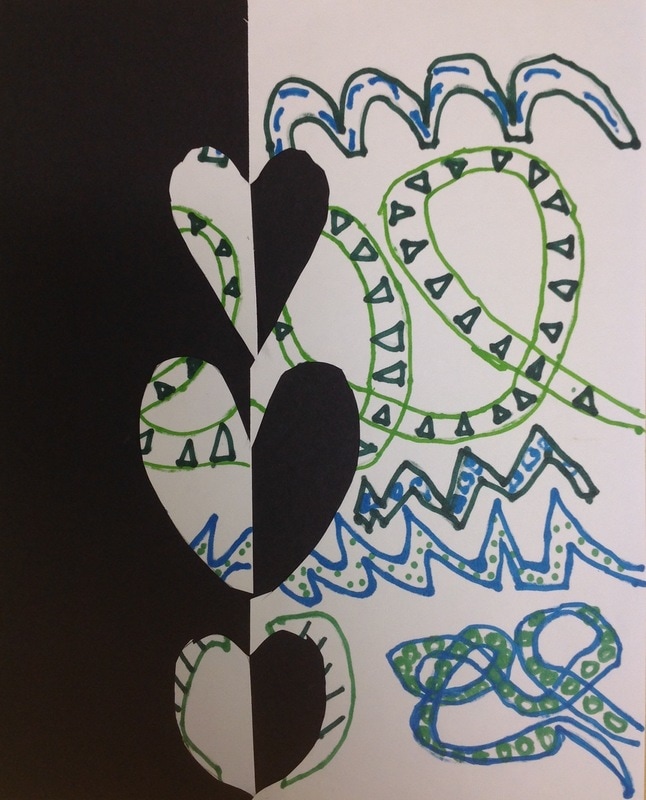
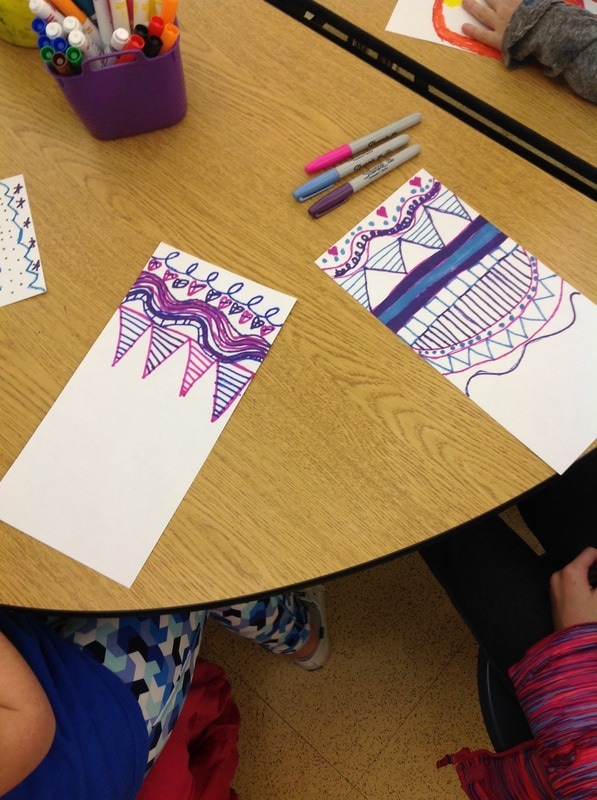
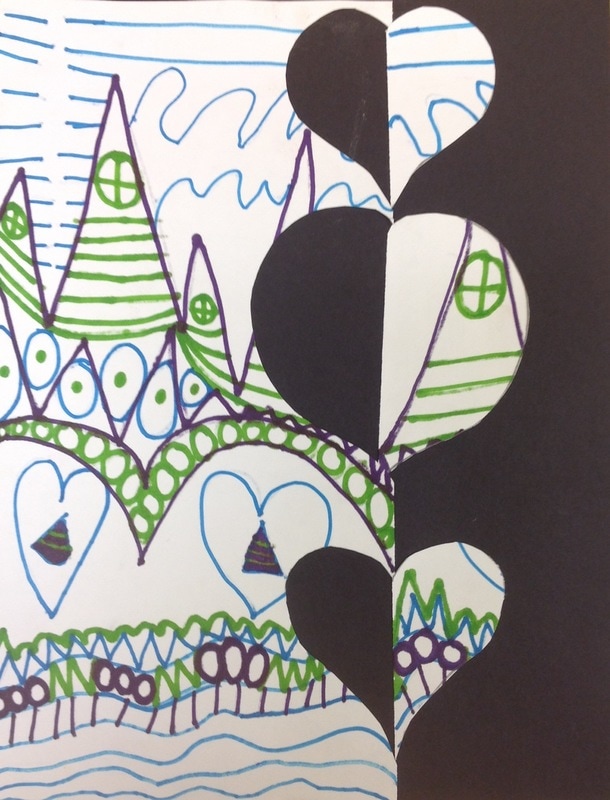
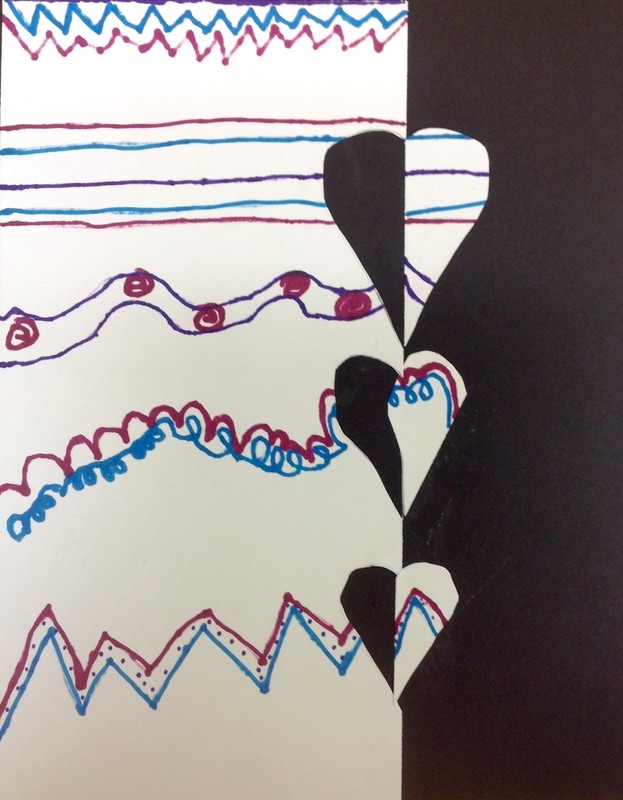
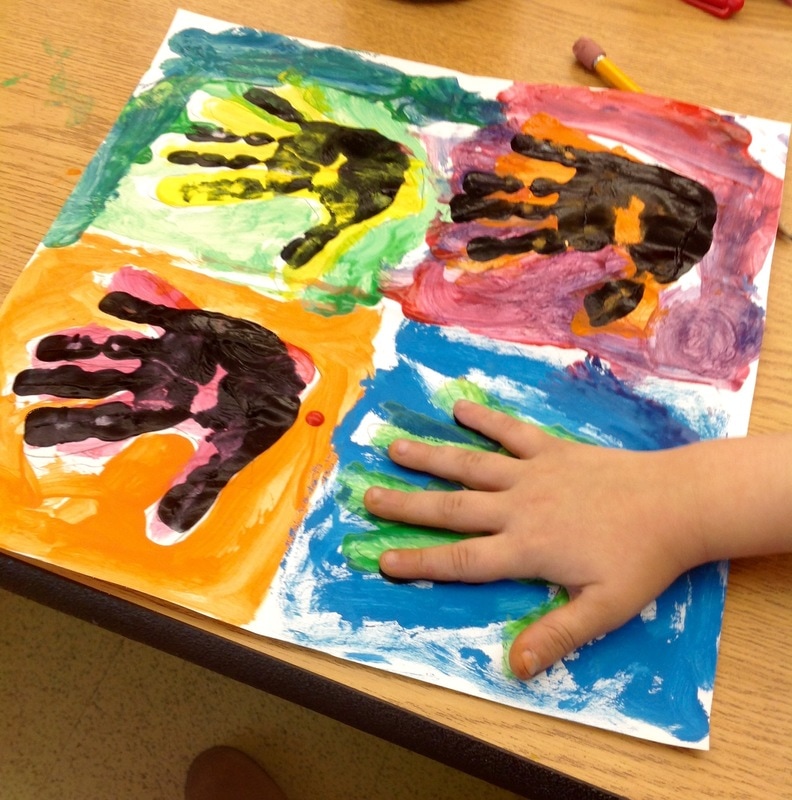
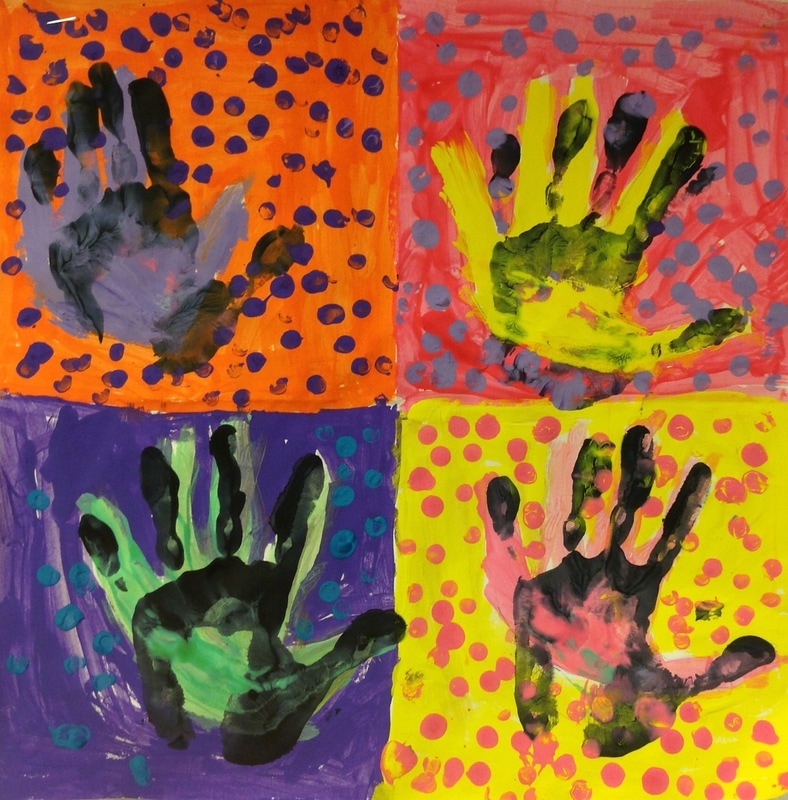
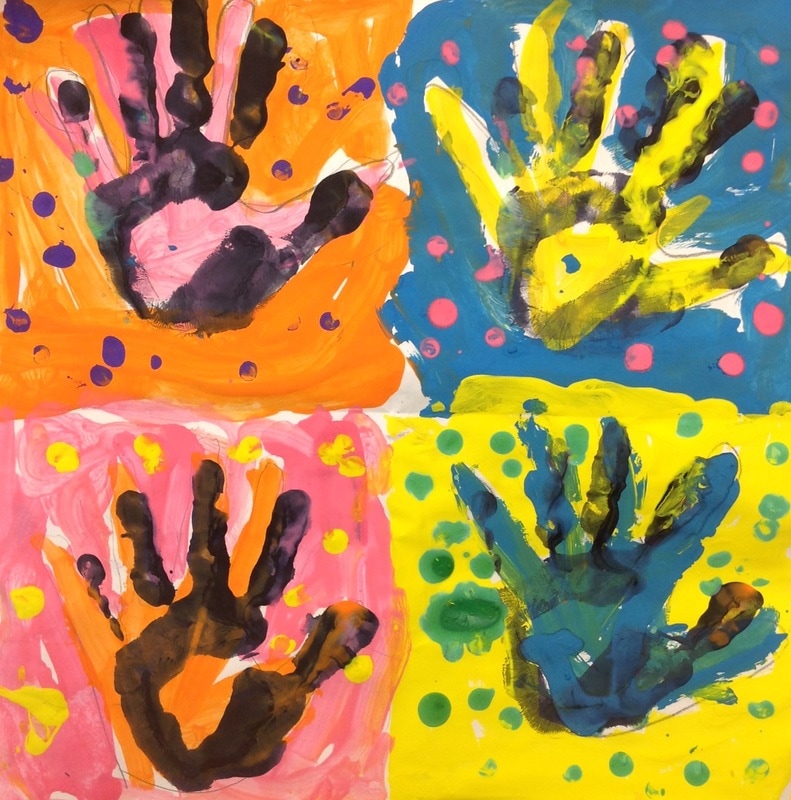
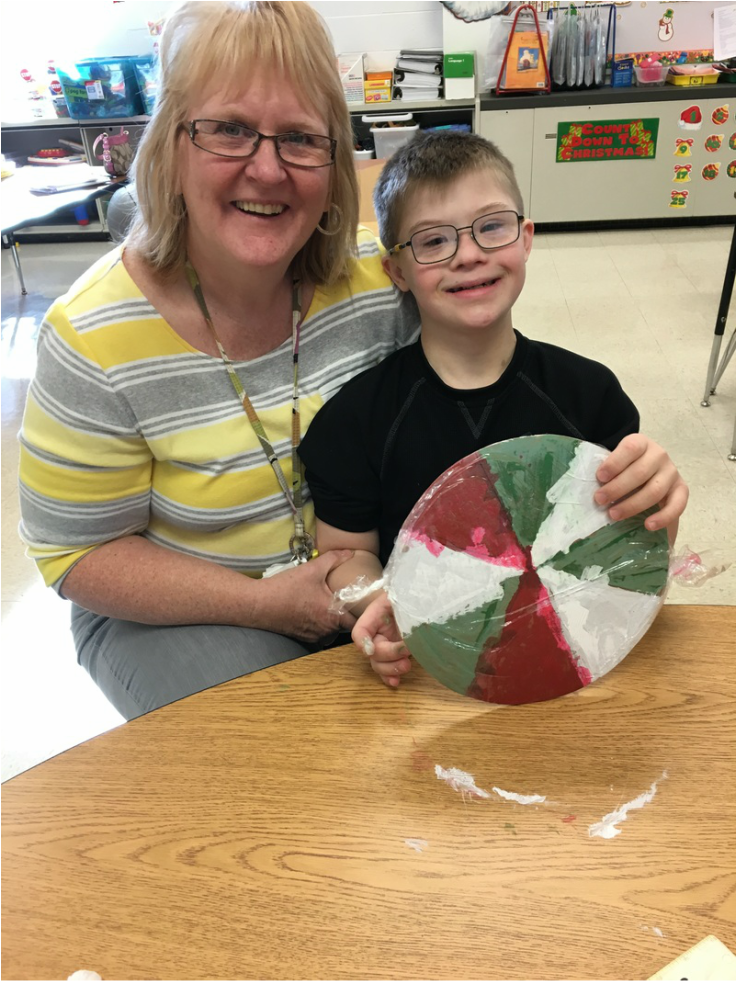
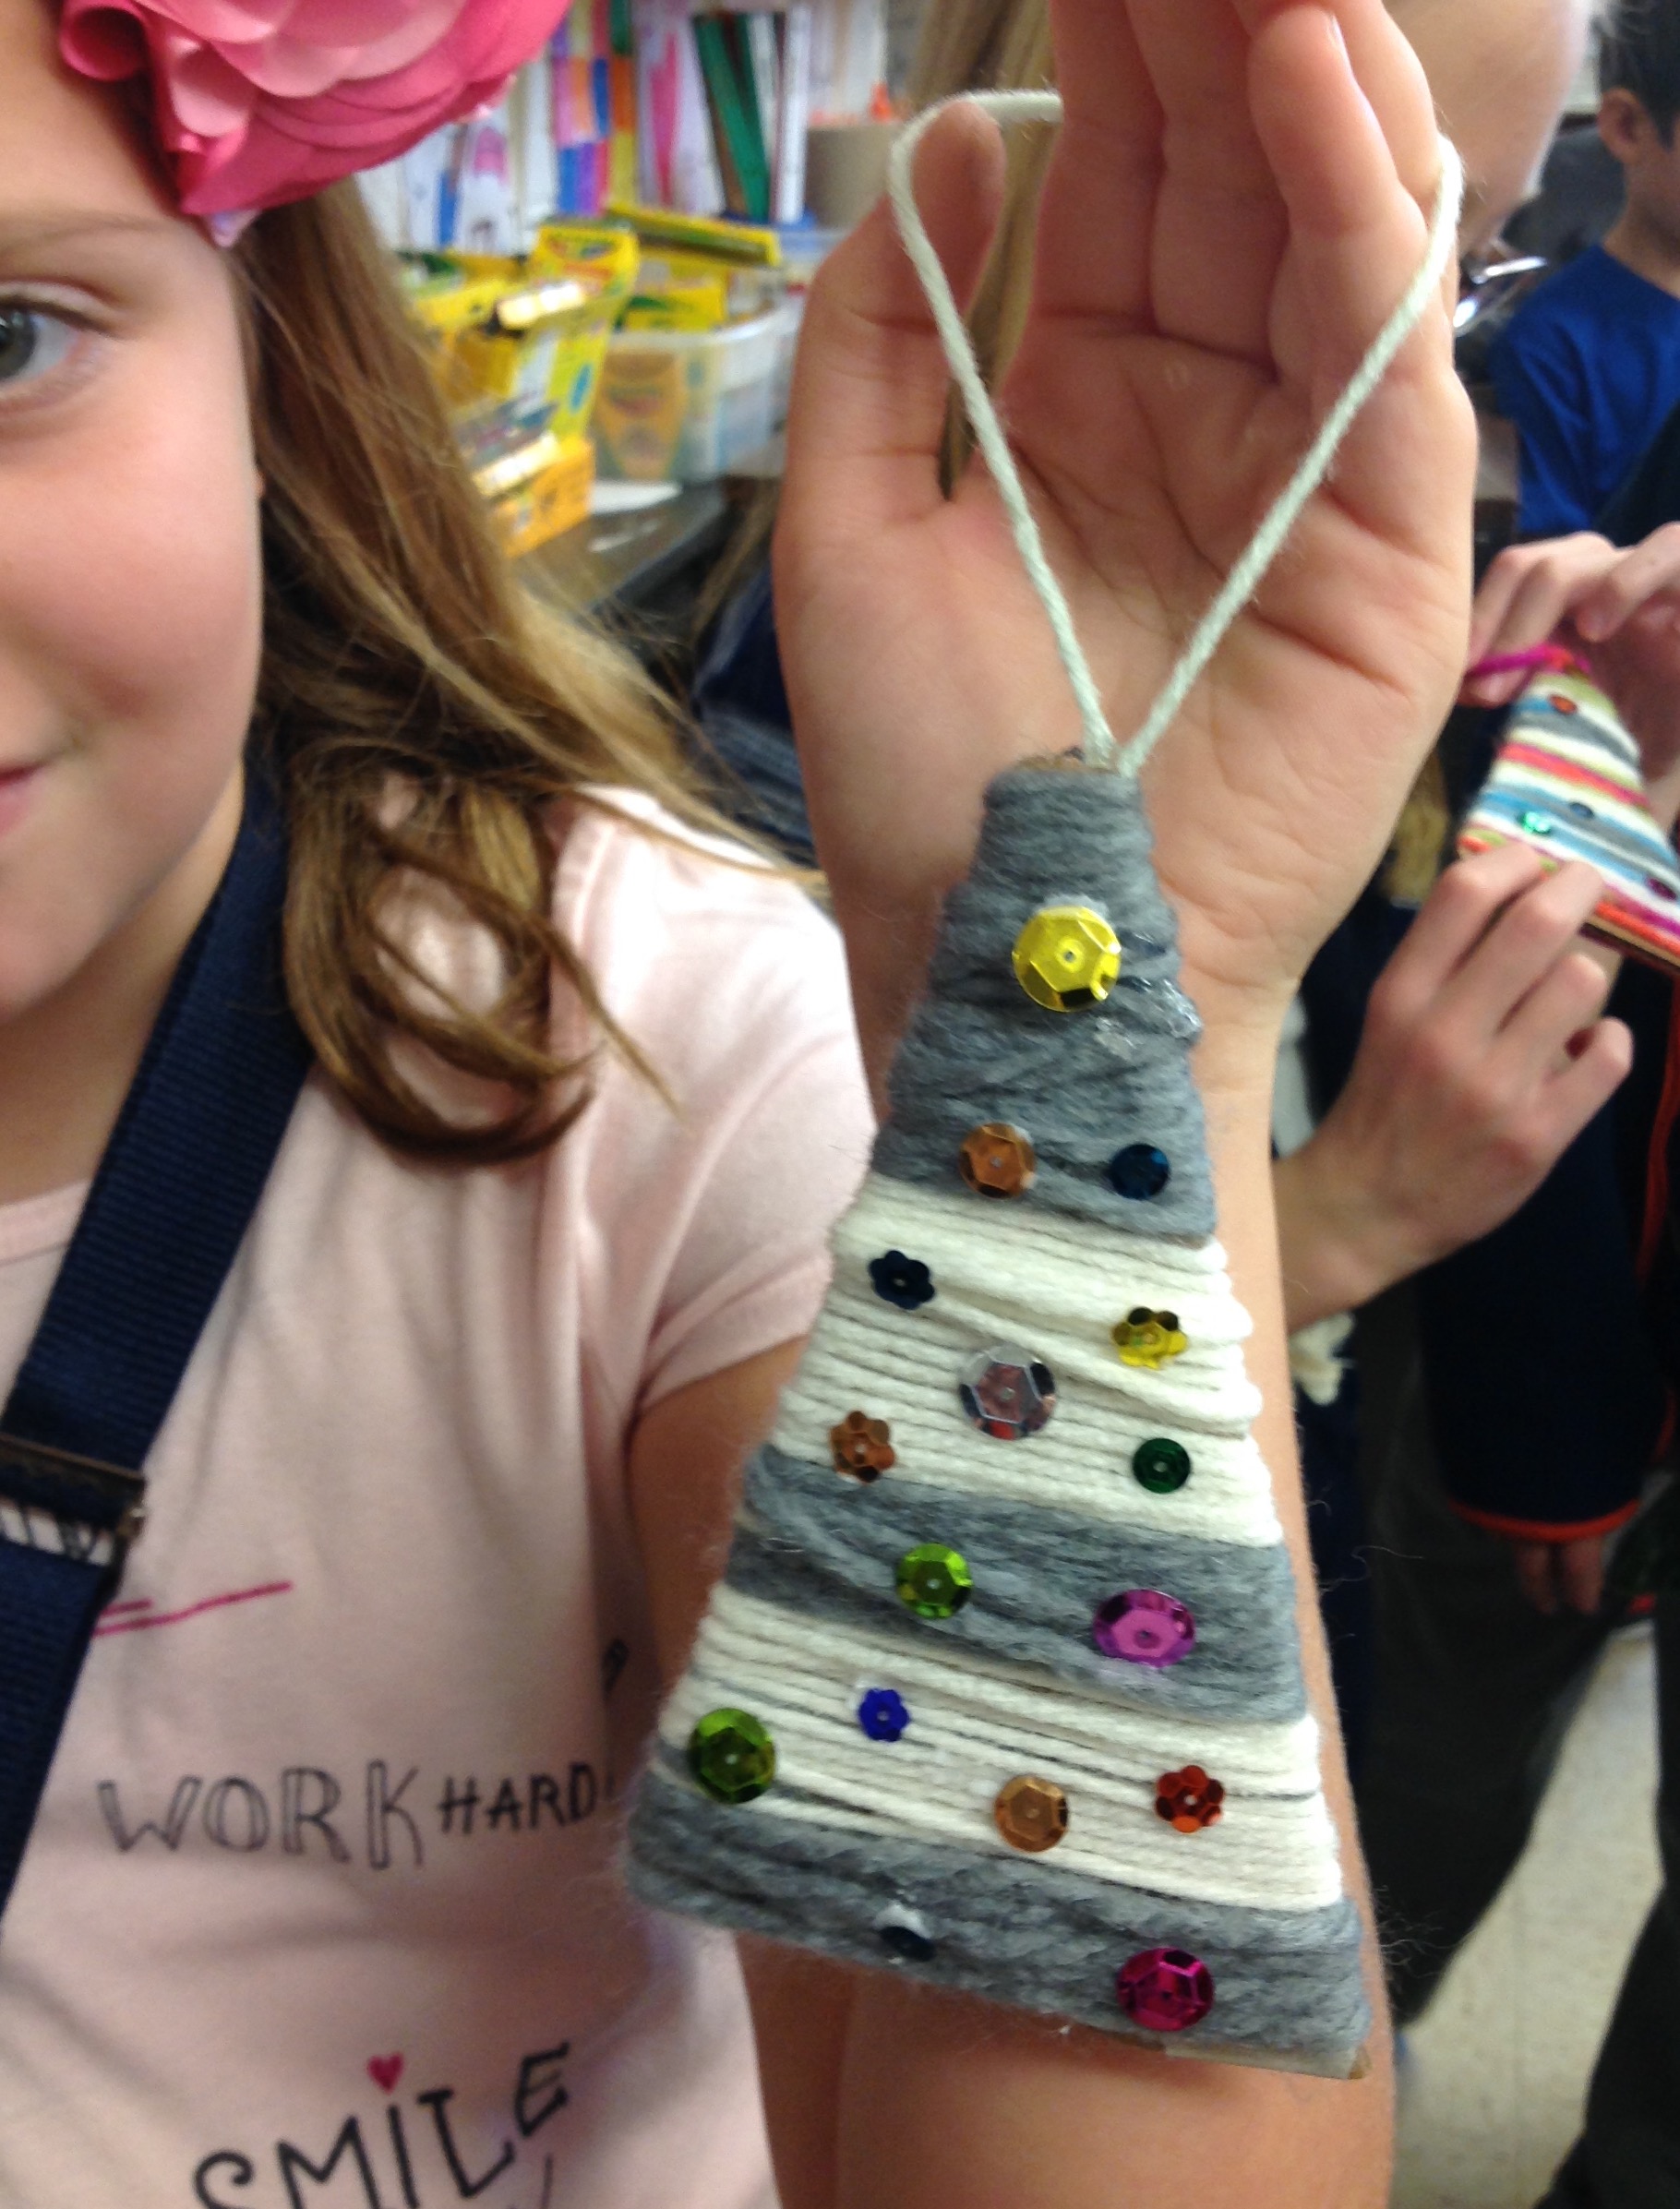
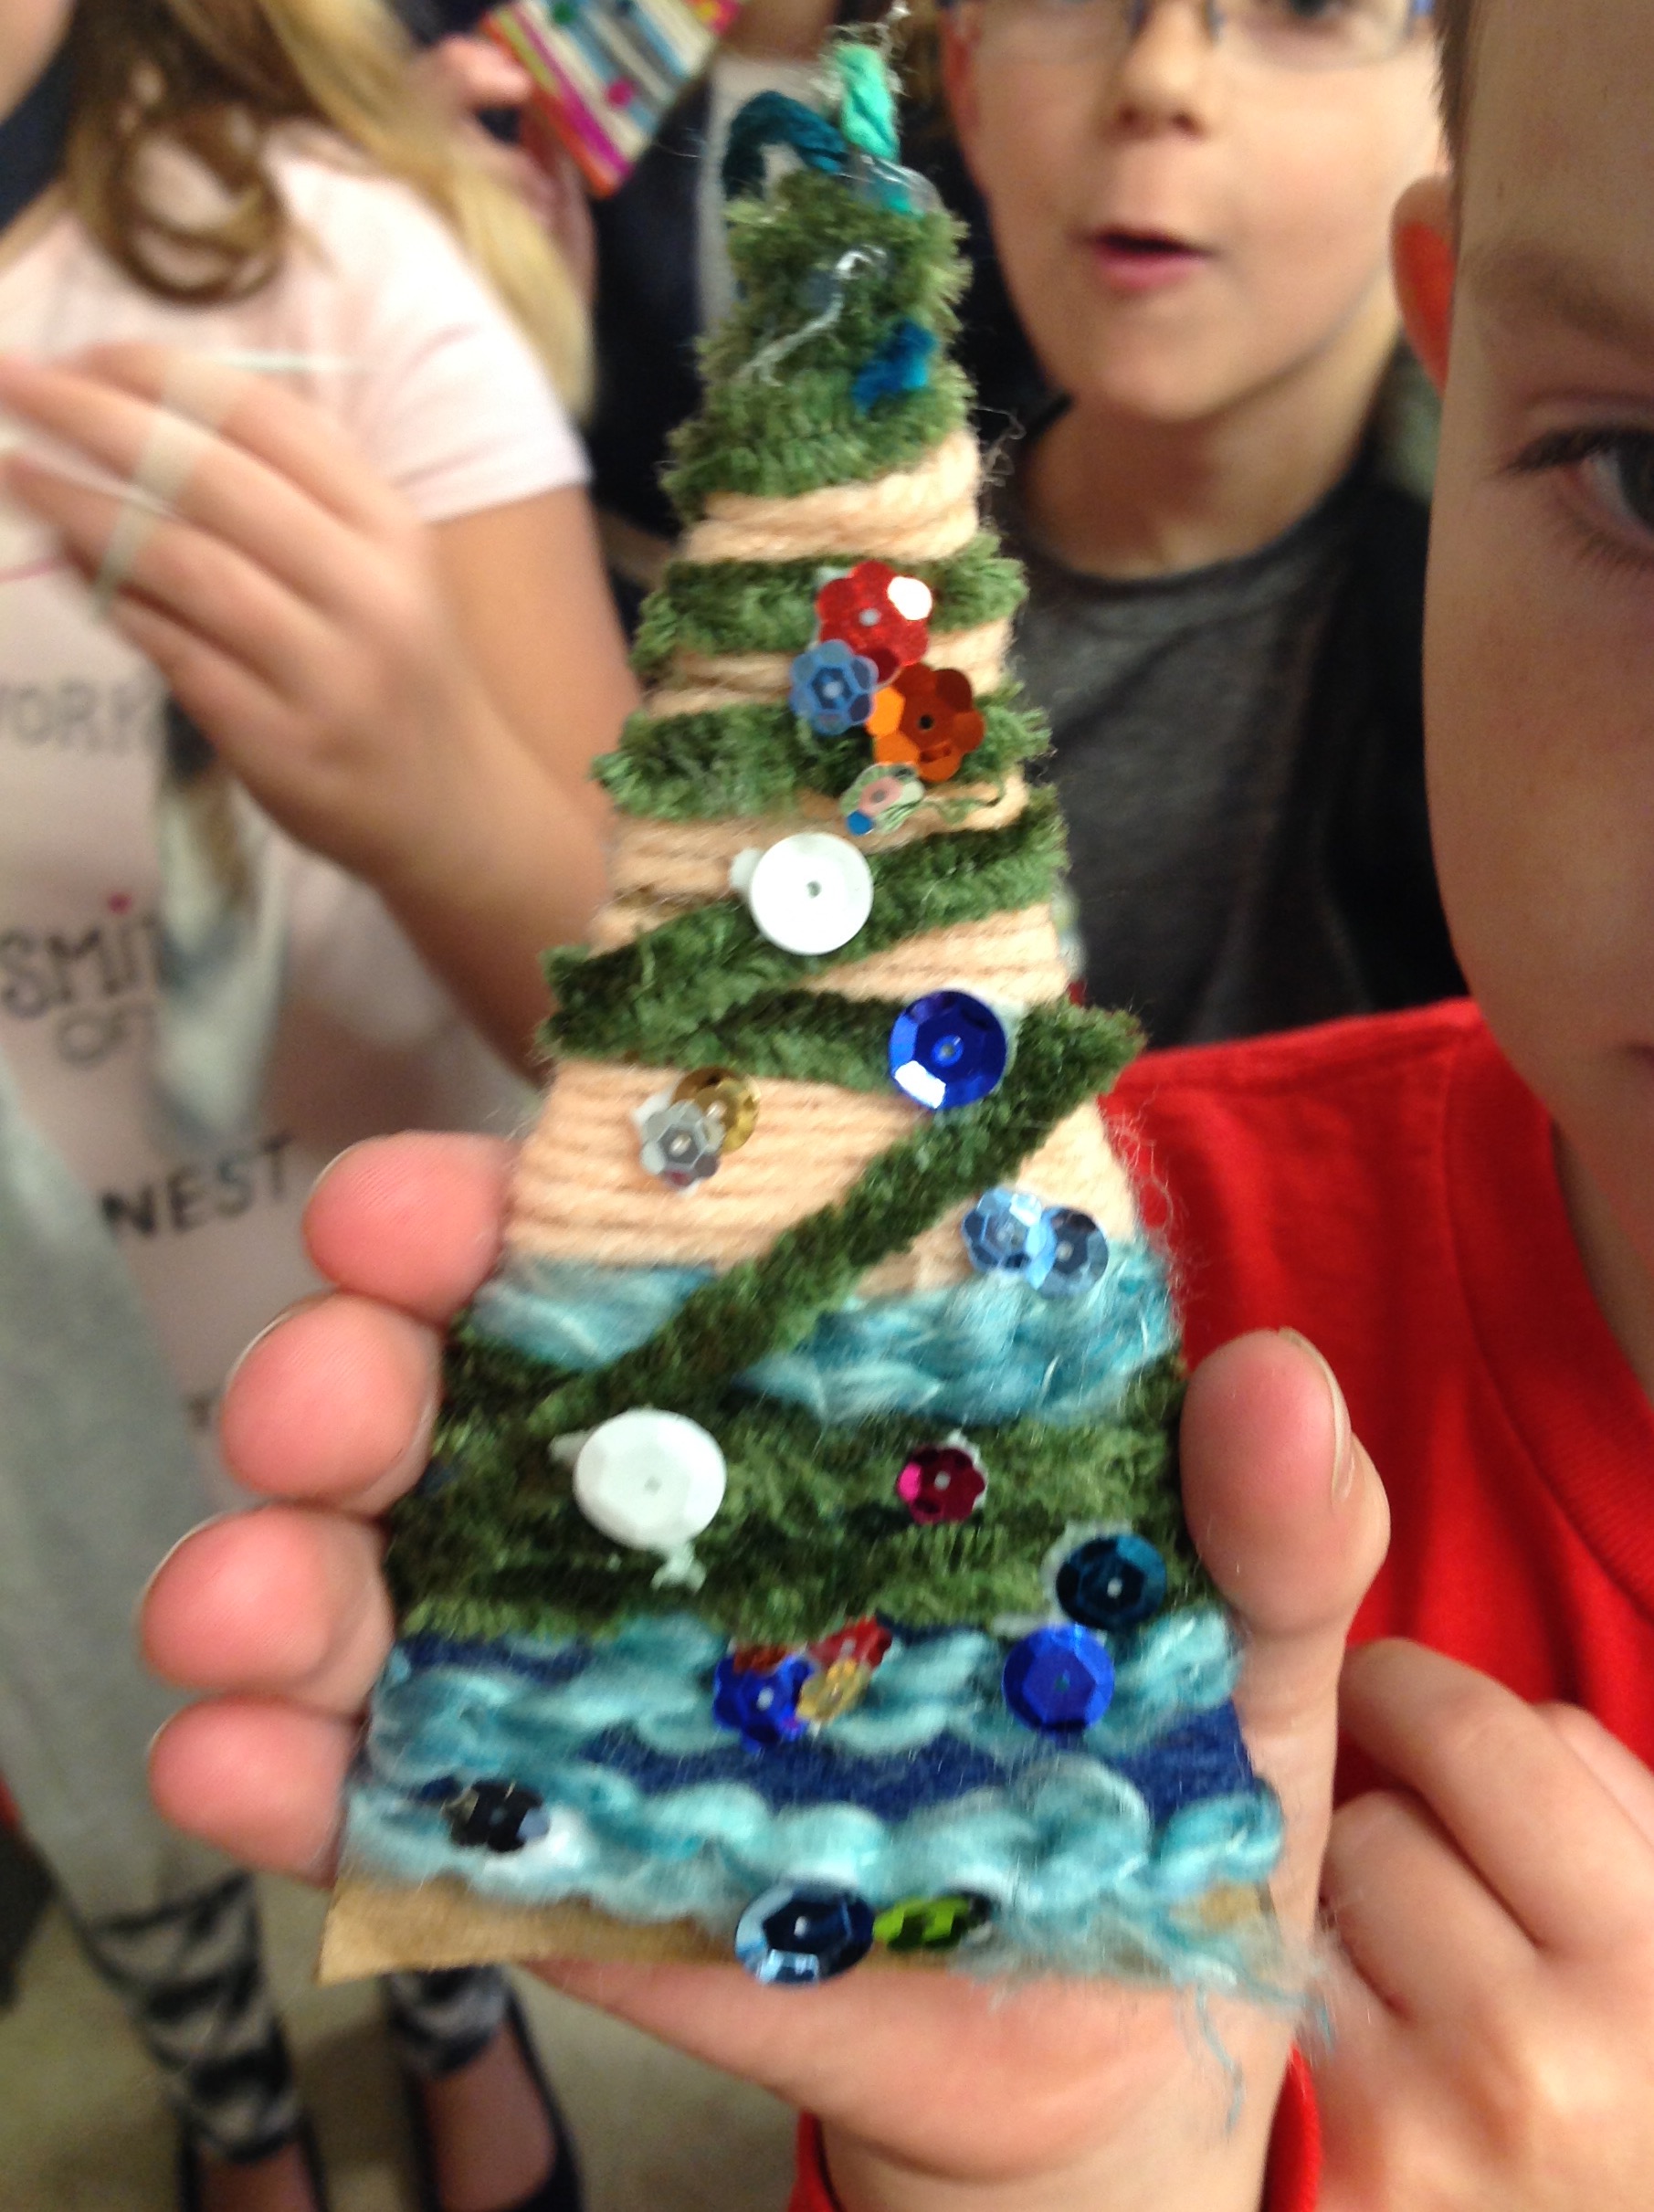
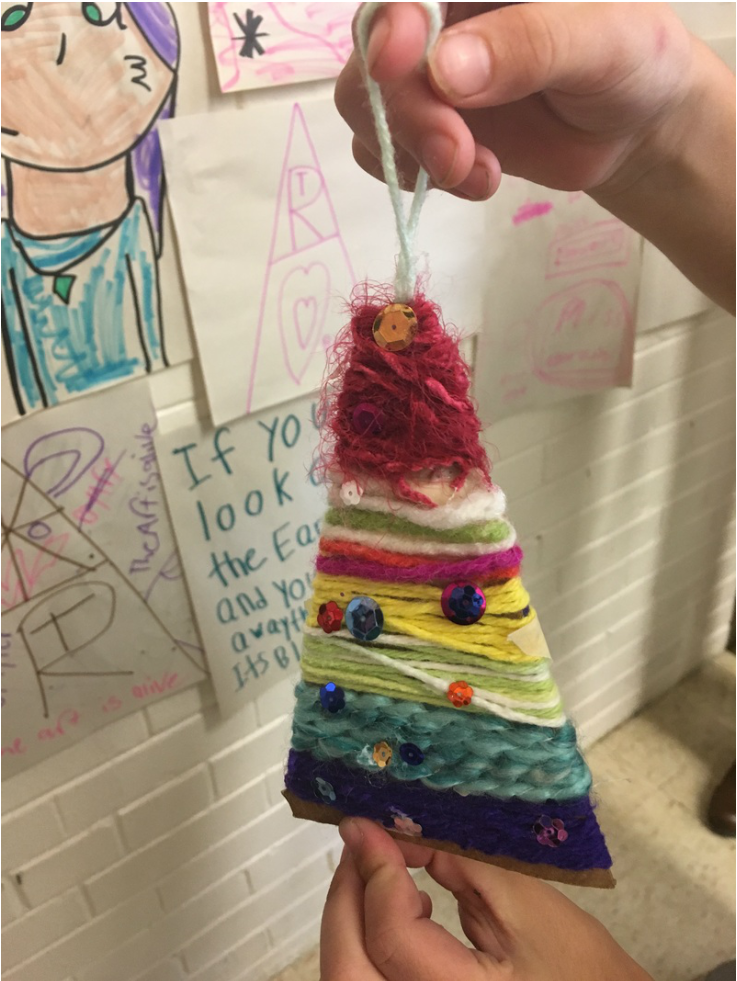
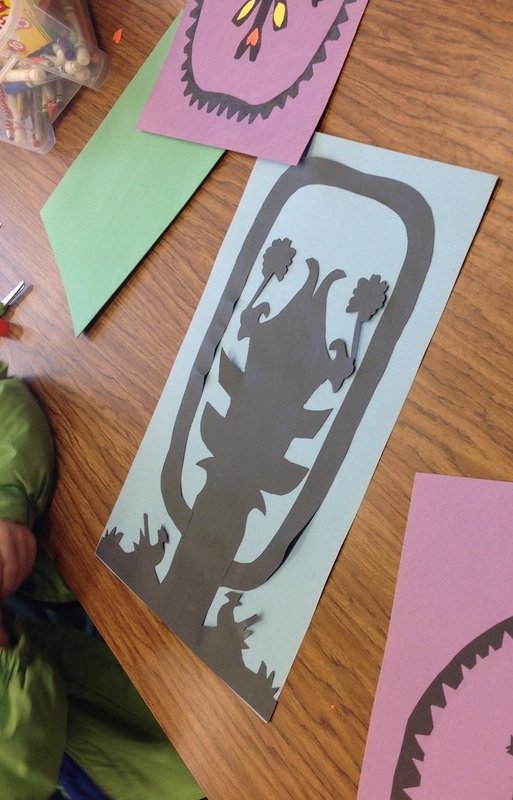
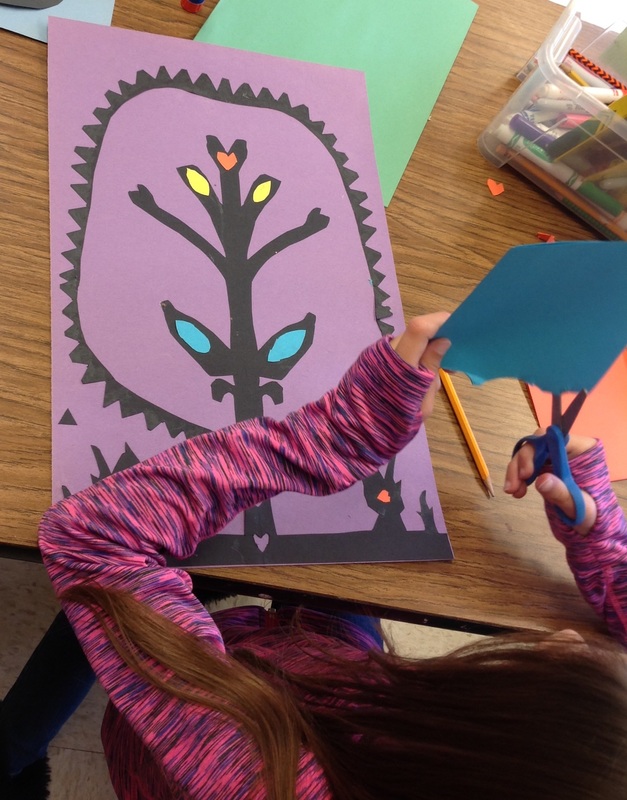
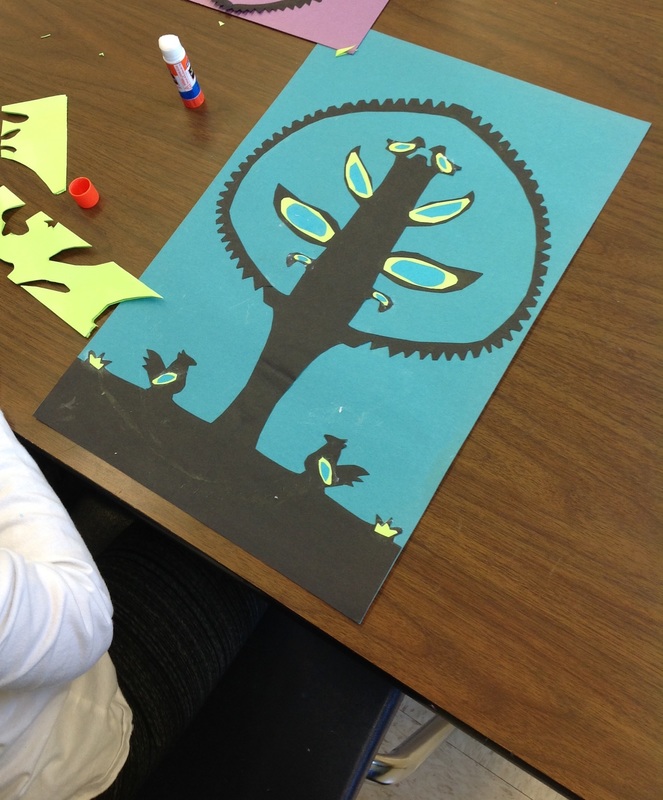
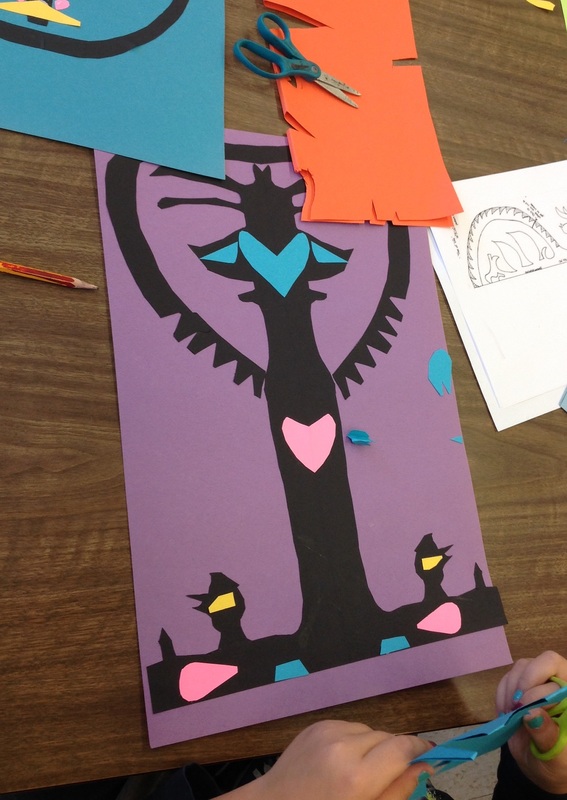
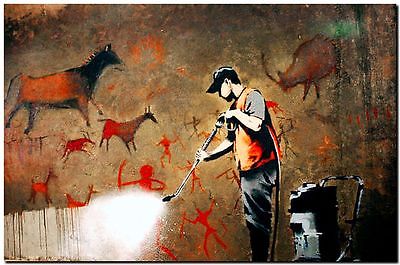
Thank you to all of our amazing families who continually support the arts in Manhattan! The Lincoln Way art department always holds a fantastic show where hundreds of pieces of art are on display for the larger LW area community to see. It is an honor to have some of our students participate. Mrs. Ambrosini and I are always impressed by how many Manhattan families come to attend this! Thank you :)
0 Comments
Hello!
I am hoping that some of our fantastic families have some materials they wouldn't mind donating the the art room! :) Here is a list of items that I am looking for: Newspaper Styrofoam egg cartons Gears, washers, nuts and/or other small pieces of hardware that could be used in a Steampunk project Circle cardboard from frozen pizza packages I will be looking for these materials throughout the end of the school year. Thank you! Kindergarteners were introduced to the concept of hue temperature. In our room, we use some phrases to remind us if a color is warm or cool. "Red like fire, orange like lava, and yellow like the sun!" "Green like dewy grass, blue like the ocean, and purple mountains majesty!" We painted our drawing of dogs and cats with "magic". (After using markers to color the animals, students used wet paintbrushes to blend the colors.) It's a fun surprise for the kids to see their marker ink move like watercolor :)
I love Charley Harper! Mid-century illustrations are the best. His simple, minimalist style easily lends itself to collages. Students were asked to come up with an interesting composition that had at least one bird. We focused the lesson on balanced compositions and focal points. Their work is as unique as they are. What's not to love?
Thank you to everyone who helped plan, volunteered at, or came to visit Wilson Creek's second annual art show. It was a fun night and a great reminder of how wonderful our families and community truly are in Manhattan SD 114. Here are some photos from the night.
Third grade spent some time studying Vincent Van Gogh and his famous Starry Night painting. Using tempera, oil pastels, and scrap paper, they each recreated this masterpiece. I was inspired by Deep Space Sparkle, and modified one of her lessons. They all ended up so different and beautiful. Van Gogh lived a troubled life and was never given the acclaim he deserved in his life time. It is important for my students to know this as it may help define their outlook on art as well as others' opinions. Students discussed the importance of making art that YOU like. The world may change it's opinion on what is "good" at any moment. Thankfully, Van Gogh did not stop painting just because critics did not care for his style. We also watched a short video that explains that Van Gogh may have been more in tune with fluid dynamics than present day scientists. It's pretty interesting. Students practiced leaving visible brushstrokes like Van Gogh as well as double-loading their paint brushes. So we spent a few weeks talking about Van Gogh and his work. But I am not going to kid myself. Twenty years from now, there will be just one fact that I can guarantee every student will remember from this lesson. If you teach art, you know what that is. :) So this week kindergartners are working with colorful construction paper crayons (which are so fun and so easy!) We took a sheet of black construction paper, practiced using our rulers to make straight lines (and it really doesn't matter if the lines are wobbly - sometimes I have found that the projects look even cooler that way). Students use 1 row at a time to make unique linear patterns using simple shapes, lines, and colors. It was a good time to revisit types of lines and geometric shapes. A lot of students even wanted to incorporate letters into this drawing which was a good idea. They practice writing letters so much in class, I like that they wanted to carry that skill over to my class. :) I reminded them that their was always room for more detail, and that they could always make their patterns more complex. This activity held the students' attention well and filled an entire 40 minute class with no clean up time. I'm sure some of my students would have even used an additional class to add more! Above was an example I made. It was projected at the beginning of class and students thought it looked very difficult. By the end of class they were pleased to see that theirs looked just as complex and "difficult". But they all felt it was really quite easy to do.
Come follow me on Instagram! @steph-boersma or find class-related photos at #paintonourfingers .
Wilson Creek has made a big push to be more present on social media. You can find out what great things all of my coworkers are doing with their students at #wilsoncreeklearns . First grade created some AWESOME hearts in art class. I noticed I don't have many pictures of the rubbing alcohol process, but that is probably because I was to busy enjoying the process with them. Students started by cutting out their hearts. I had some classes glue their hearts onto the black paper before they painted and some did not glue theirs down until after the paint had dried. You can see the one above glued down the heart first. I like the way the paint has traveled onto the black space. If we do this again, all classes will try it this way. The trick to getting a good effect with the rubbing alcohol is to add it when the paper is extremely wet. So first graders tried out the wet-on-wet painting technique for the first time. The first practiced this technique on small hexagon-shaped paper (I will get back to this). Then, they painted wet-on-wet "watercolor" (we used tempera discs with a lot of water). They used little pipettes from the science closet to drip the rubbing alcohol on top. There were plenty of "oohs" and "aahs" from my little artists/scientists. Finally, students used scraps from the recycling bin to give their pictures a colorful frame. T
The practice papers have been Mod Podged together onto 2 canvases that will be raffled as a set at the Wilson Creek art show! We hope to see you there! The Anna McDonald ACCESS students experimented with mono-printing and chalk pastels as they created these fun Valentine artworks. They started folded their paper in half, and were only allowed to paint on one side (forcing them to print the wet paint onto the other side). We all started with basic hearts. From there, they painted more line details. The tempera dried quickly, so they were able to add color on the same day. This student got the hang of mono-printing and quickly took off with his own idea. This one looks so much like a Siamese cat face to me. I love it!
This kindergarten lesson was a summary of the seven art elements (line, shape, color, texture, value, form, and space) that have been introduced to kindergartners this year. They used scrap paper, oil pastels, cotton balls, chalk, and tin foil. We practiced tracing, cutting, gluing, blending, and ripping. (This really was quite a review lesson for these kiddos!) Their projects turned out wonderful! I love the discussions that I overheard in some of the classes too. One student explained to another student what "space junk" was (surprised me that she already knew about that!). Many students chose specific planets to draw in the background (Saturn and Mars seemed to be their favorites.) Students also looked at photographs of nebulae, and were asked to create their own in their pictures. Just beautiful. They are very creative kids, these kindergartners. :) This was one of those projects that caused crazy, cluttered tables.
Square 1 Art is a phenomenal fundraising program. Students create artwork on an 8.5" x 8.5" square and the company scans all of the images into their data base. The original artwork is returned to each student along with a complimentary sheet of stickers with their artwork! Friends and family then have the opportunity to shop the personalized products from the catalogue. Any purchases help support the art department here at Manhattan 114. We have used this fundraiser to buy extra clay, leather, specialized painting supplies, books, and so on. More information regarding order forms will be sent home next month. :) The projects that each grade level worked on: K: We painted peacocks. We used rulers to create a "fan" pattern for the feathers. 1st: Students created radial symmetry patterns. We started this project by tracing 3 circles on to the paper, and the students took it from there! 2nd: Students drew their name with details to describe themselves and their interests. 3rd: Students used iPads to research their "underwater" drawings. 4th: The theme for these drawings was "plants and animals". Students used their iPads to help research this. 5th: Students used their iPads to research their "insects, amphibians and reptiles" drawings. ACCESS students K - 3rd: Students used tissue paper and colorful painted paper to create a collage of any subject they chose. My second graders sure fit a lot of art knowledge into this one-day project! Students chose analogous colors from my sets of "fun Sharpies". They then doodled designs however they chose (incorporating at least 3 types of lines). Students flipped their papers over and traced the "mirror image" on the back side. They then cut out half-hearts, flipped the cut-outs over, and glued them down to create positive/negative space combos. The interesting thing to me is how quickly time seemed to pass for each class!
Kindergartners practiced folding, tracing, painting, and creating repetition with these fun Andy Warhol-inspired pictures! I have tried this project a few ways and this is now my favorite! This is another project where EVERYONE's looks fantastic and EVERYONE can feel successful. :) Side note: pop art is my favorite so I love to teach students about Andy Warhol. Speaking of Andy Warhol, my family and I had the opportunity to check out some of his work in person at the Andy Warhol Museum in Pittsburgh this summer. Here is Anna checking out one of her favorites! This is a tried and true lesson for my kindergartners. No matter the ability level of the student, EVERYONE's always looks so perfect and so cheerful. Merry Christmas and happy holidays, guys!
I love Romero Britto. He is happy, he is fun, he is the ideal artist to introduce my little kiddos to! In the past, I have taught a different Britto-inspired lesson to my first graders that focused on colors and patterns. But when I saw this lesson that Cassie Stephens did with her fourth graders, I knew we needed to try it out as well! (Nothing inspires more confidence in 6 and 7 year olds than telling them that they can draw like 4th graders! That is the ultimate compliment I have discovered. :) ) Students worked on drawing their faces. Correct placement and proportion were introduced, but won't be a main focus until later grades. After they drew themselves, students added patterns to their drawings that reflect their own personal likes and interests. To create thick, bold, black outlines, students used Chisel-Tipped Sharpies. They were also given the chance to demonstrate their neatest coloring with crayons and markers. On a related note, the patterns on the large mural I have been painting by the gym are also inspired by Romero Britto. Did I mention that I love him? Honestly, his art is perfect for this primary level! All of the patterns are painted, and the silhouettes of the kids are slowly being added. When this project is complete, I will add more pictures! Peppermint is one of the defining smells of the season! We added some peppermint extract to tempera paint and had a very jolly time in ACCESS last week! We had white, red, and green paints to choose from, and they all smelled fantastic! At Wilson Creek, students swirled the colors around on a large cardboard circle to create a peppermint candy. My Anna McDonald students used rulers to divide up their circles and painted the colors in a pattern. We completed the candy painting by wrapping plastic wrap around the cardboard. To make them even more festive, Mrs. Christensen gave us ribbon to tie on the ends. :) The one drawback to painting with the peppermint extract is that while it smells delightful while you are painting, the scent is almost completely gone once it dries.
This was so easy and so fun. Students used scrap pieces of cardboard and some yarn to wrap colorful ornaments. Most of the yarn was secured with masking tape (which is hidden in the end) and a very minimal amount of hot glue was used. Sometimes my daughter, Anna, tries out new projects with me. She used some of her own beads and do-dads to complete this. Seriously, this is easy enough for preschoolers, but fun enough for older kids as well!
Mrs. Schueler's fourth grade class learned about the Polish art, "Wycinanki" (vee-chee-nan-kee). They focused on creating a symmetrically balanced picture that incorporated the subjects of a lot of Wycinanki - trees and birds! I used this wonderful blog post to help me with my planning for this project. The hand out that the author of the post provided was quite helpful! I told students to not copy her drawing, but to use it as a visual reference as they created their own.
I have wanted to introduce the contemporary artist, BANKSY, to my students for a long time. I have hesitated because I wasn't sure how to present an artist who is controversial in this nature (law-breaking vandalism). In the worst case scenario, students might see this as my personal consent to vandalize "in the name of art". That was the main reason why I kept putting this idea on the back burner. It was when I found out that the theme for Anna McDonald's school year was "stomp out bullying", that I decided to make this work. He was a prime example of an artist who stands up to social injustice, and uses his art to spread a positive message for change. I used some of his lighter, funnier pieces to start discussion. From his paintings' content, the process he goes through to make his art, to the question of morality, students have never had more to say about a particular artist. We watched a couple short clips, as well. This one is about an elementary school that receieved an original BANKSY. This one is about another street artist, Moose, who creates "reverse graffiti". The image above led most of our discussion on street art and graffiti. So this is what we did. We first made the brick background by sponge painting brown tempera on red construction paper. We used white paint to add the grout lines. In the next class, we talked about typography and stylizing letters. Students then used chalk to add color to their words. They cut them out and glued them to their backgrounds. These kids had some great messages. My daughters and I tried out this fun art project at the DuPage Children's Museum over the summer. It was so fun, I had my Anna McDonald ACCESS friends try it with me. We talked about how lines can criss-cross and make enclosed spaces (SHAPES). We taped yarn to the back of a small piece of cardboard. The students then carefully wrapped the yarn around the cardboard in any way they wanted, and then taped the other end of it to the back. They wrapped them up in tinfoil, used their fingers to press down on the front, and then carefully colored in their cubist-looking creations with Neon Sharpies! :)
We practiced so many fun ways to play with paper! We read a great book about Henri Matisse called "Henri's Scissors". This is a great story to promote inclusion and perseverance in the art room. As Matisse became ill and was no longer able to make art as he once did, he found ways around his disabilities to continue creating. His assistants painted large pieces of paper and he was able to "draw with scissors" as he lay in bed.
Students cut geometric and organic shapes and arranged them in really neat compositions. We also practiced techniques such as pleating, fringe, spirals, etc. They look great! Last week, we said "goodbye" to Mrs. Borchert, our awesome student teacher! She will be moving on to her second student teaching placement at Hickory Creek Middle School in Frankfort. We wish her well! Also, thank you to all of the families who helped send her off with an amazing goodie basket of fiber art materials! She is well on her way to having the biggest supply of yarn of any art teacher! (BTW, this tub only held about a HALF of what was donated!) She was shocked and wanted to make sure all of the families knew how much she appreciated this gesture! :)
|
AuthorI am a K - 5th grade art teacher at Wilson Creek Elementary and Anna McDonald School in Manhattan, IL. I am also a mother of two little girls (who share my love of art)! Archives
February 2019
Categories
All
|